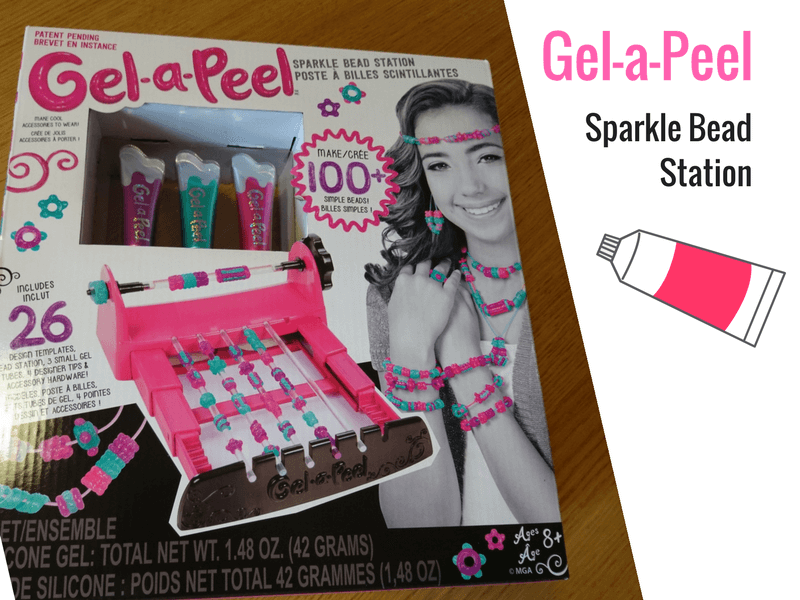
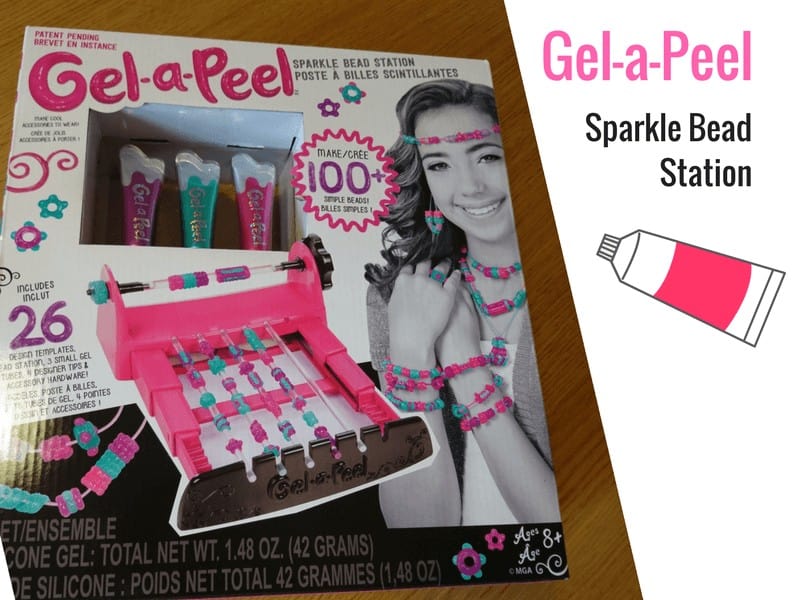
Back in March Little Bean had fun reviewing the Gel-a-Peel Pastel kit to make cards for Mother’s Day and loved it. This time she has been asked to review the Gel-a-Peel Sparkle Bead Station which she loved even more.
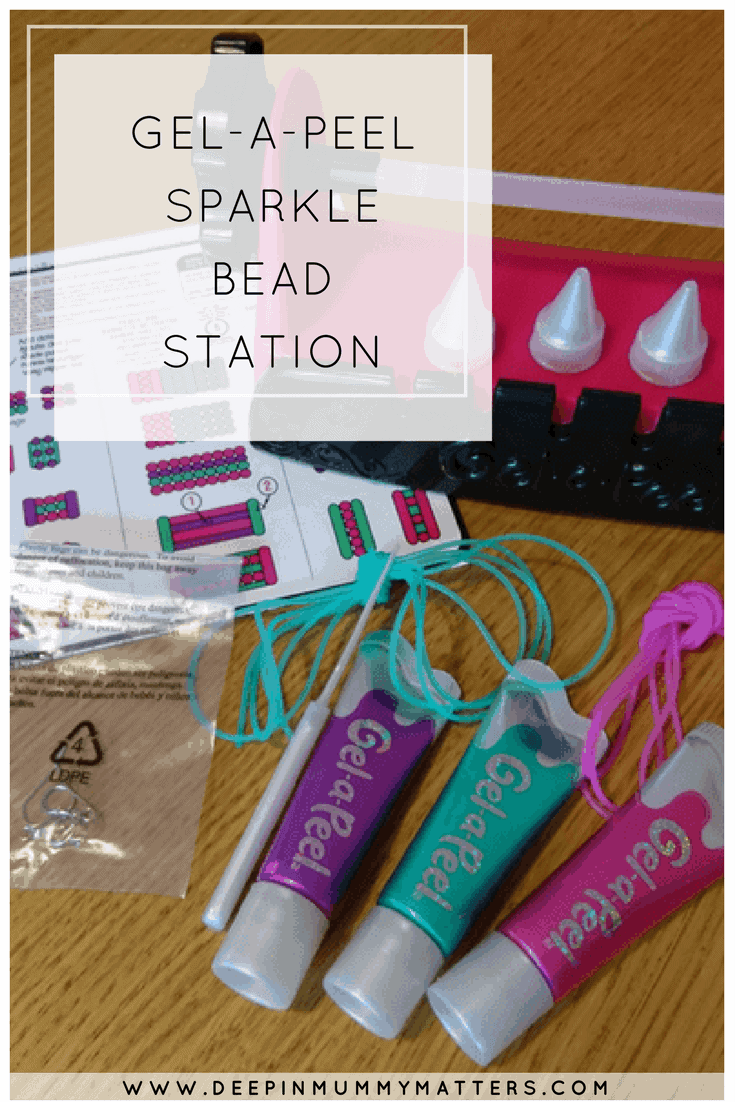
Kit Contents
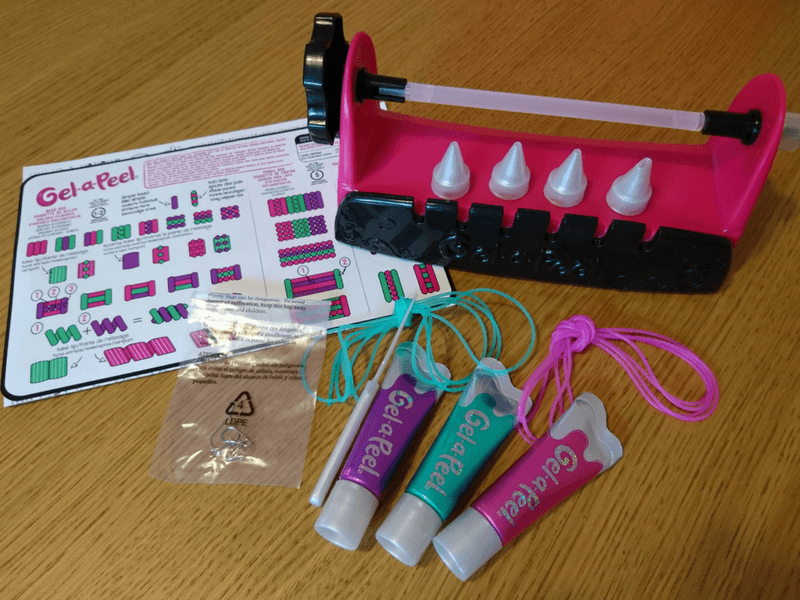
- Bead station
- 5 bead rods
- 1 pencil rod
- 1 ring wheel
- 1 removable knob
- 2 lanyards (5ft)
- 3 gel tubes
- 3 round tips
- 1 rake tips
- 1 design template
- 1 cleaning tool
- 1 pair of earring hooks
- 2 jump rings
- Instruction sheet
Project choices
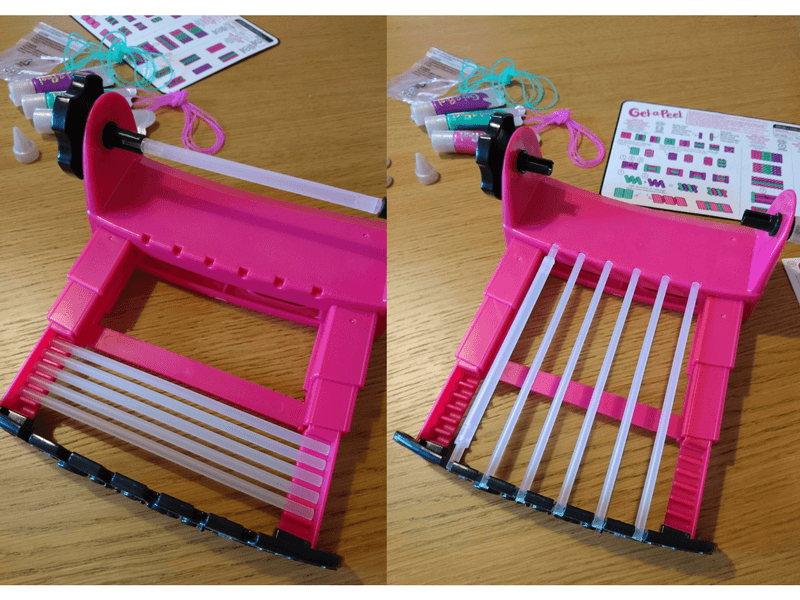
Using the Sparkle Bead Station you can make beads, pencil grips or rings and need to select the rod for your chosen project prior to starting the activity. Little Bean wanted to make a pencil grip first so she selected the slightly chunkier rod and set to work with her chosen gel.
Designing
Gel is applied directly to the rod by attaching a decorative tip to the tube and squeezing the gel onto the rod whilst slowly rotating it by turning the knob on the side of the bead station. The gel can be applied in lines, spikes or squiggles in any of the colours and must be touching in order for the design to hold once dry. You can create cool colour-changing rainbow effects by changing the tip half way through so the colours merge and then change to the new colour.
Making a ring
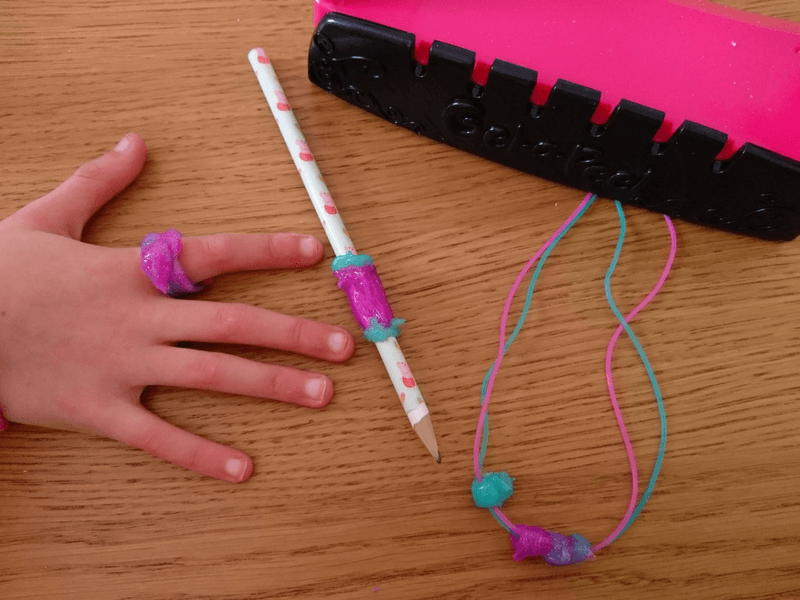
Little Bean also made a ring by applying the gel onto the ring wheel and it really happy with how it turned out. She used the rake tip to apply her first coat of green gel and then added pink spikes. Afterwards she decided she didn’t want the spikes so used the cleaning tool to smooth it out and create a pink ‘blob’ at the top of the ring.
Mummy wanted to play
As a crafter myself I was itching to have a go with the Sparkle Bead Station myself but since it was sent for Little Bean I had to step aside. Sadly, she isn’t as precise as I would have been had I been making the beads and she was less interested in making Beans, she just wanted to make pencil grips and rings instead.
Drying and wearing
The kit recommends that you wait 5-10 minutes between adding new colours to your design but Little Bean was too impatient and just cracked right on changing her colours around. We left the finished designs overnight to dry thoroughly before removing. I was a little nervous that I would break the pencil grip when trying to remove it from the rod but it was surprisingly strong and moved easily from the pencil rod to the pencil itself. Little Bean was very excited by her finished projects.
Cleaning, Repairing and Storing
Cleaning is really simple. You leave the gel to dry on everything and then just peel it off. It reminded me of being a child and painting my hands with PVA glue!! The tips can be cleaned using the cleaning tool, just push it into the tip, twist and remove with the gel attached.
Mistakes or tears can be easily rectified by applying another layer of gel and leaving to dry. The bead rods can all be placed lengthwise in the front section of the Bead station and the drawer closed for easy storage.
DISCLAIMER: We were sent the Gel-a-Peel Sparkle Bead Station for the purpose of this post. All words, images, video and opinions are my own and may not be copied without my permission. I have not been instruction what to write.
Pin It!

Looks like something Tilly would really enjoy! x
I must admit, this was a fun craft and I was itching to take over x