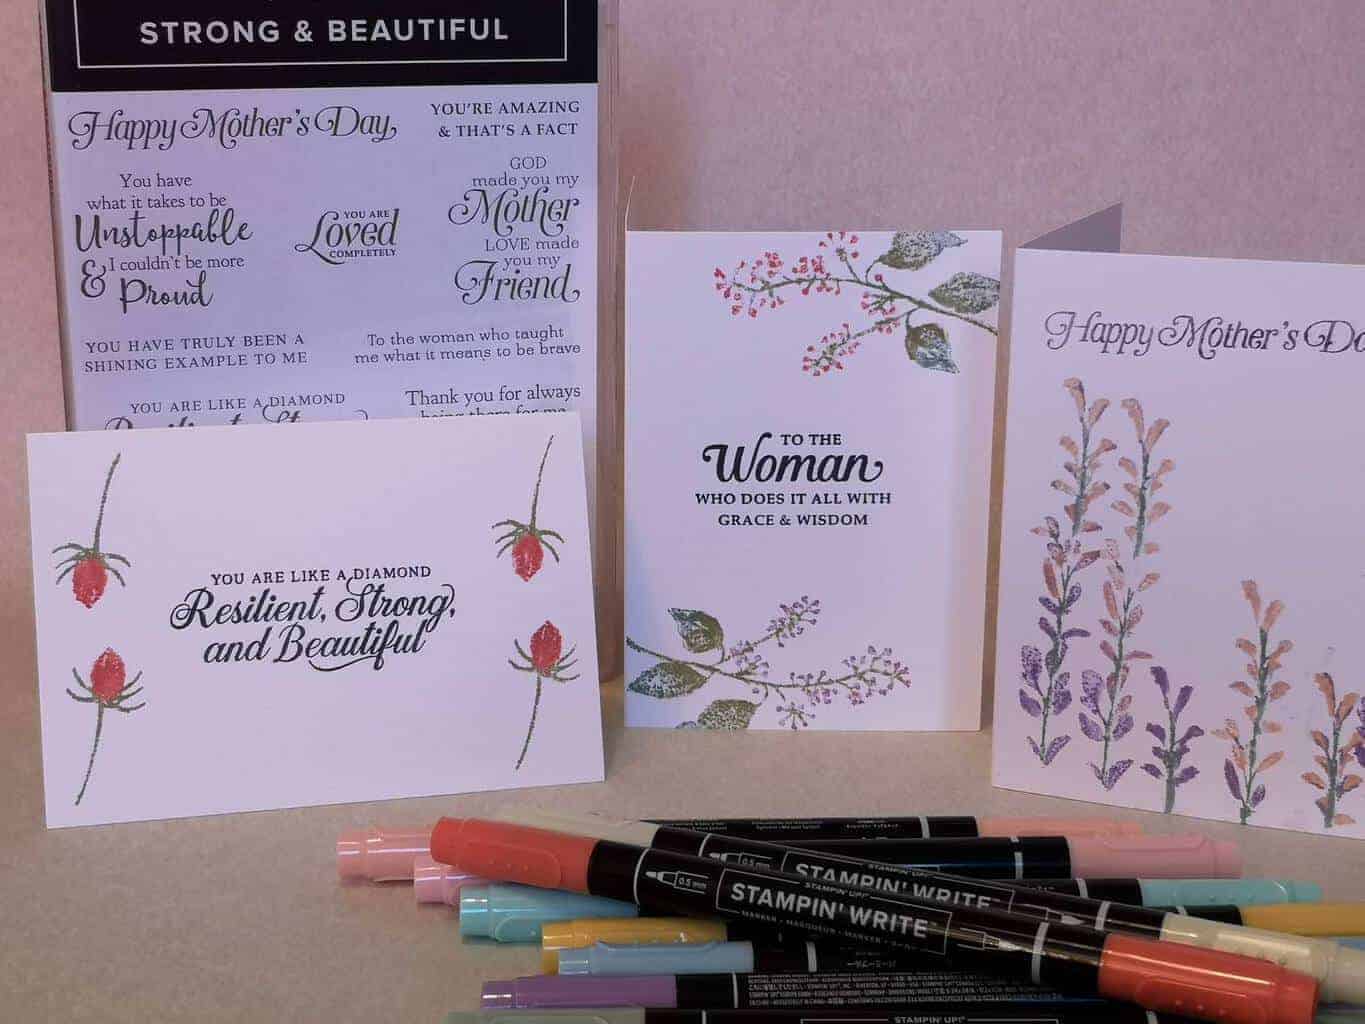
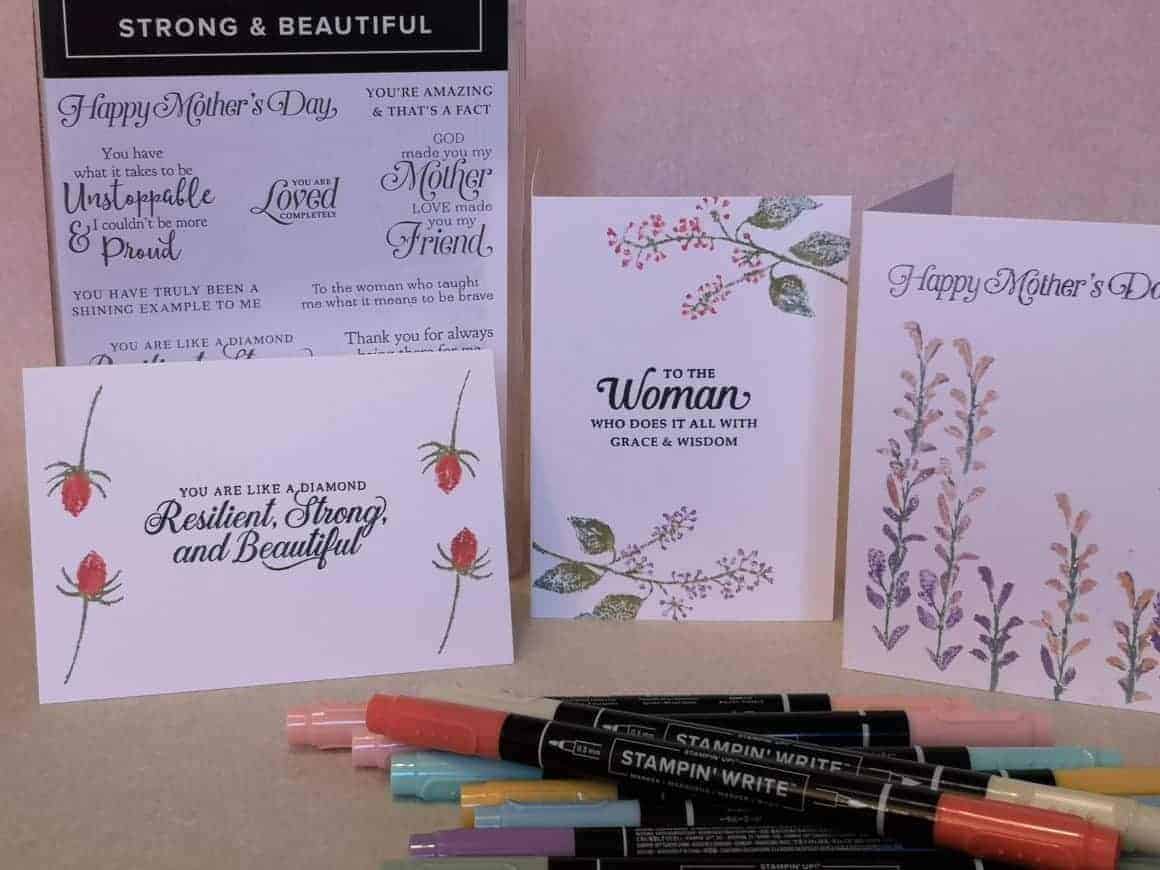
Stamping has come such a long way since the stamping crafts of my childhood and it’s a really popular craft with today’s crafters. I was recently sent a lovely set of stamps and pens from Stampin’ Up!https://www.stampinup.com/ which I used initially to make some pretty Mother’s Day cards but have since made gift cards for friends and in my journalling too.
About Stampin Up!
In 1988 Shelli Gardner and her sister decided to take the bull by the horns and set up their own company. They realised that if they enjoyed crafting together, others would too so why not create a business out of it.
Unlike most crafting products, Stampin Up only sell their stamping and crafting products in people’s homes via Stampin’ Up! demonstrators.
They have successfully been trading in the USA for more than 25 years and also sell in Canada, Australia, New Zealand, Japan, France, the Netherlands, Germany, Austria, and the UK. I was first introduced to Stampin’ Up! years ago when I attended a blog event many years ago with a very little Lillie.
Getting Started
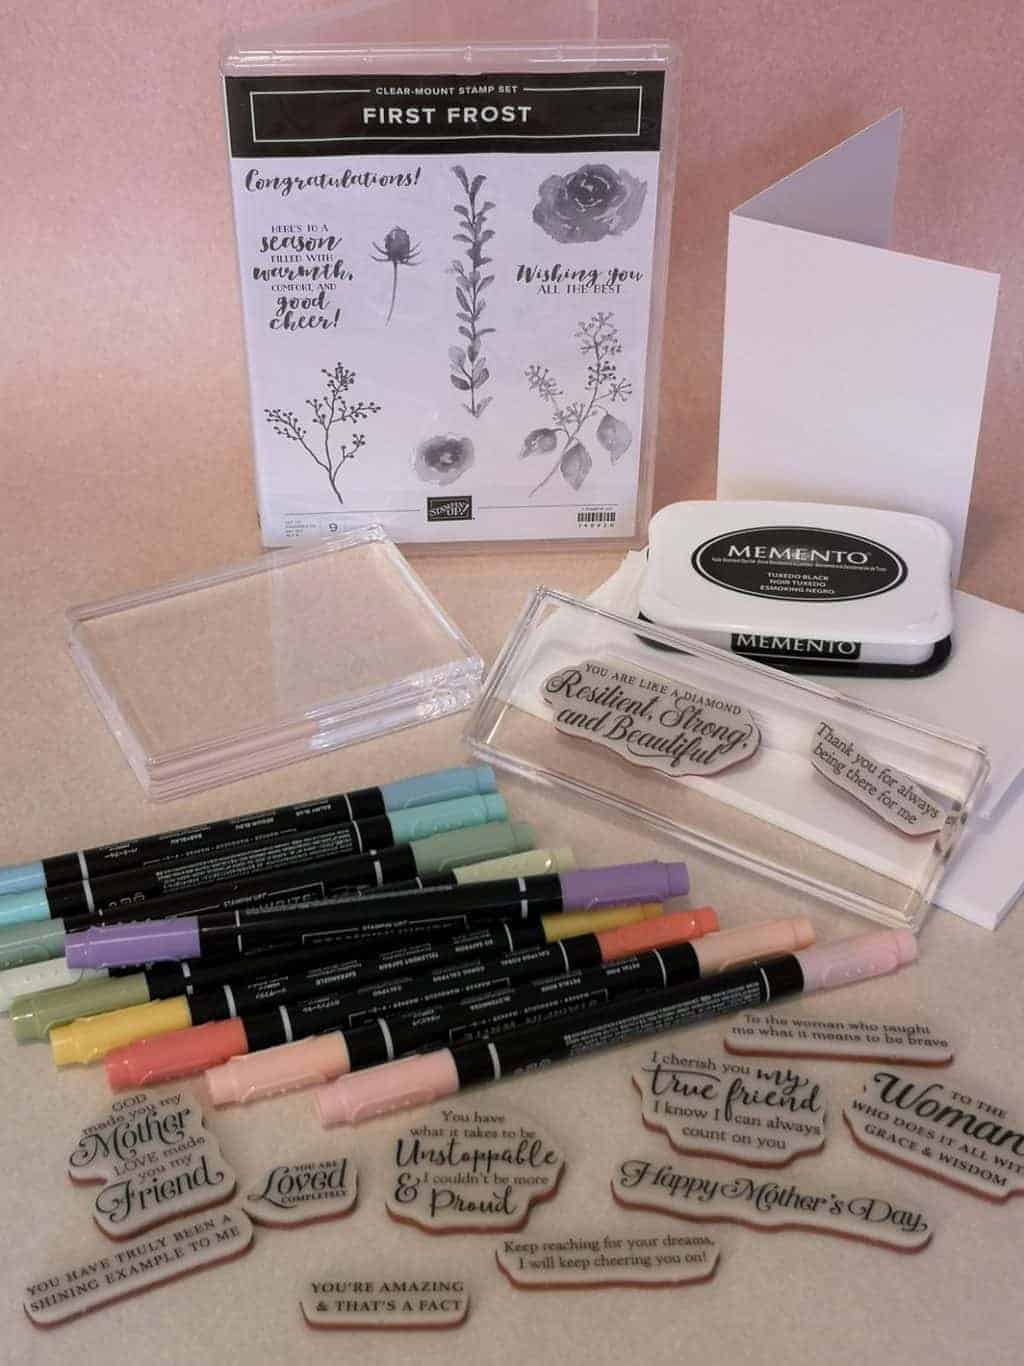
I received a lovely selection of items from Stampin’ Up! to get enable me to create some beautiful cards for the important women in my life. I received:
- Strong & Beautiful Cling Stamp Set
- First Frost Clear-Mount Stamp Set
- Clear Blocks E and I
- Subtles Stampin Write Markers
- Tuxedo Black Memento Ink Pad
Preparing Cling Stamp Sets
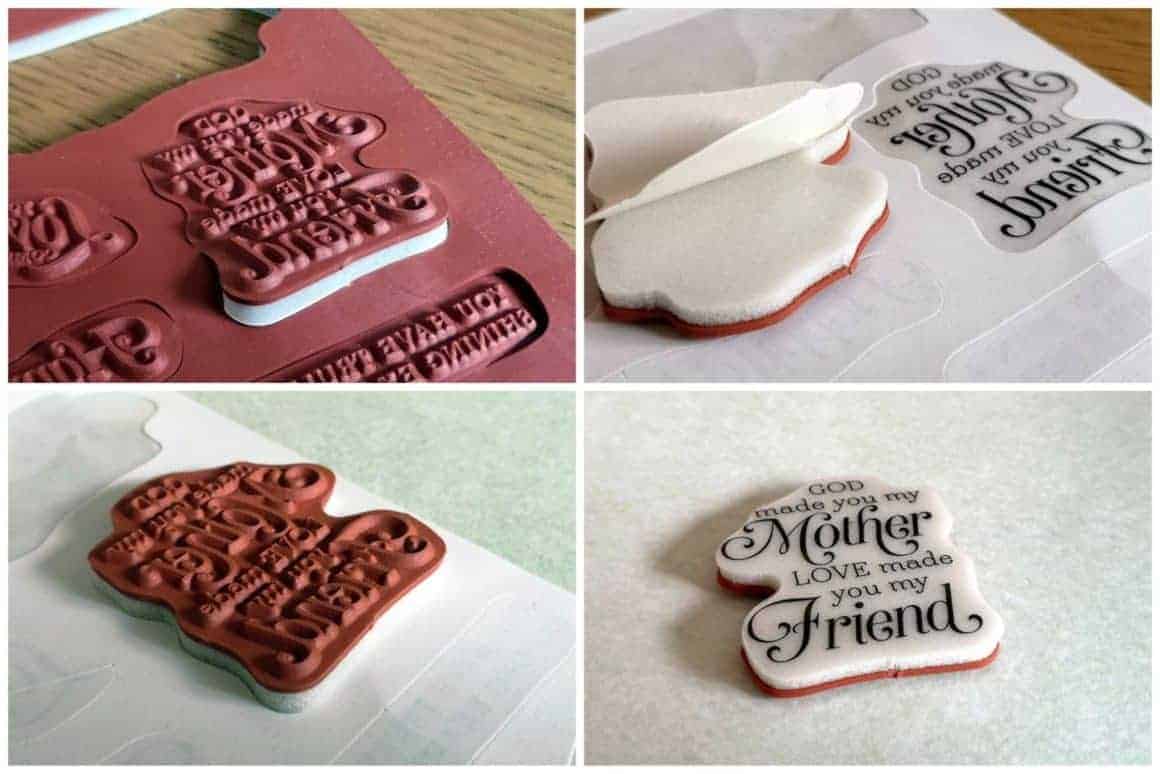
When you first open your Cling Stamp Sets you need to prepare your stamps for first use. The stamps will all be in a pre-cut rubber sheet, carefully remove the rubber stamp from the sheet and then peel off the paper backing sheet from the stamp and from the corresponding cling sheet. Next place the rubber stamp onto the cling sheet so that their shapes match up exactly. Your rubber stamp is now ready to use with a clear block.
Using Cling Stamps
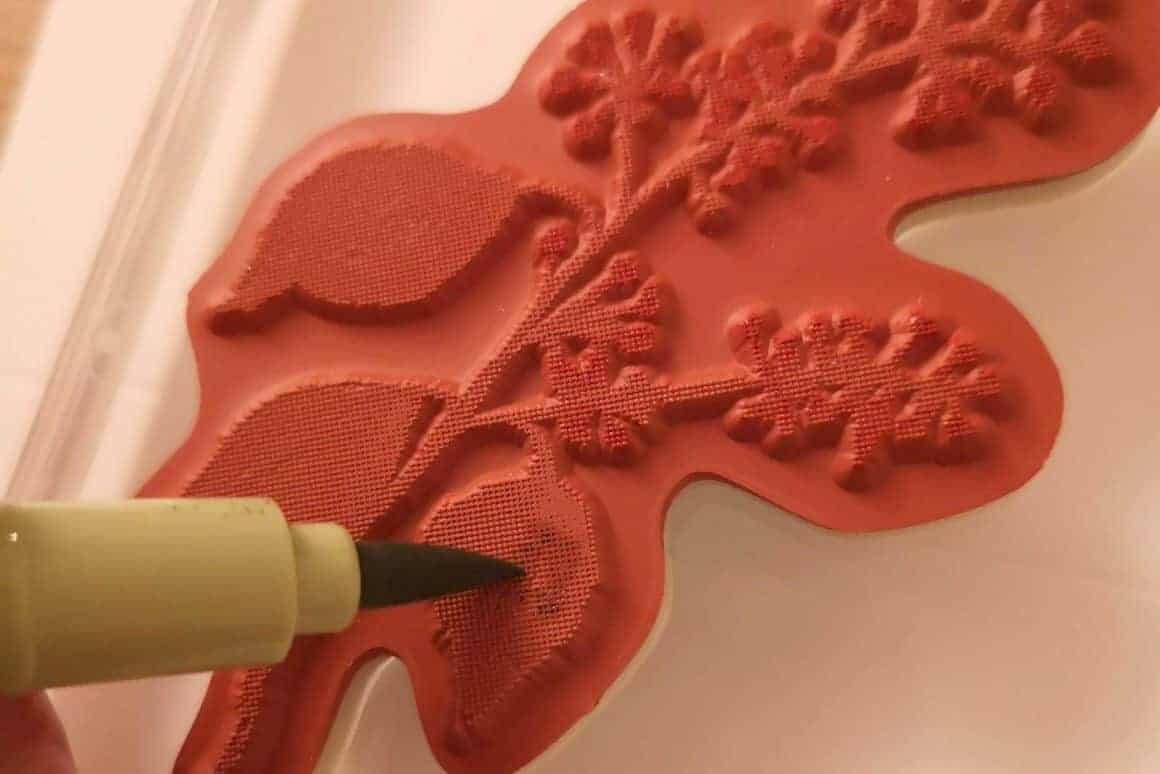
Once your rubber stamps are ready to use, you stick them to the clear blocks with the cling side facing the stamp and can either colour the stamps (as in the picture) using pens or you can gently brush the ink pads across the surface of the stamps. I like using pens to colour the stamps because you don’t have to do them in solid colour blocks. You can shade them (starting with the lightest colour pen first). Once you have added all your colour to the stamps you need to ‘huff’ on the stamp using your breath to moisten the ink and then carefully place it onto the surface you wish to stamp and press down firmly.
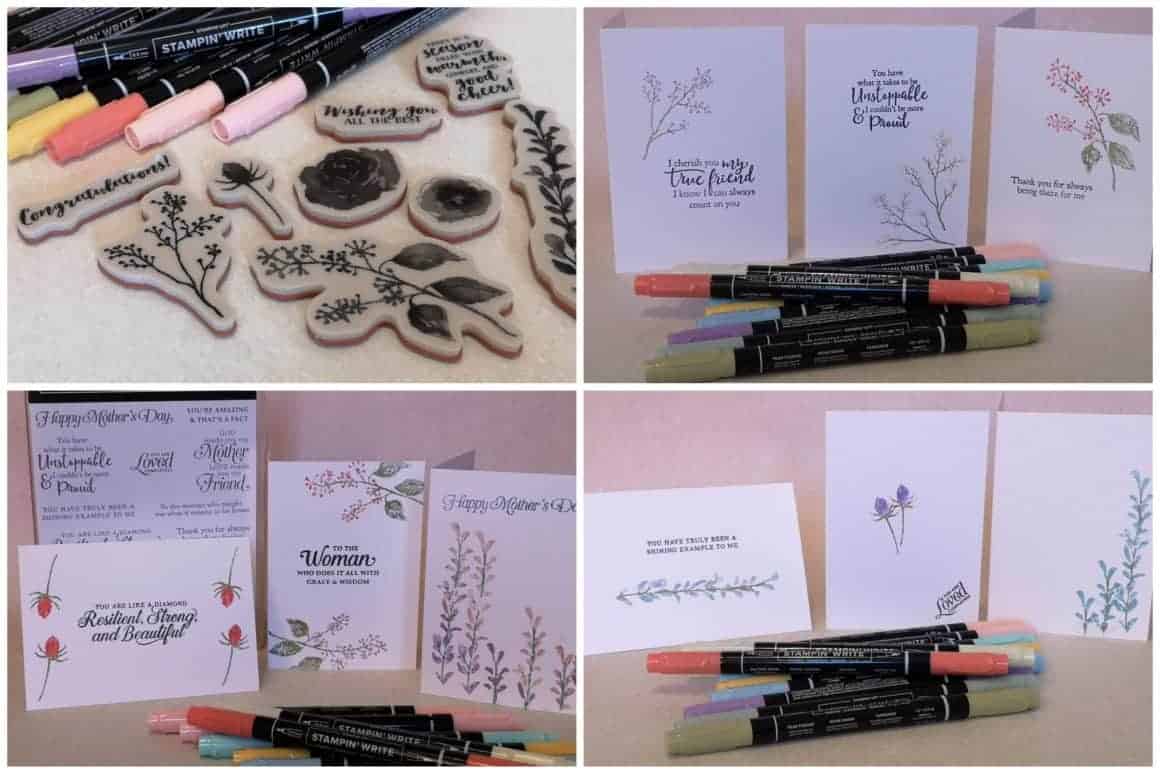
Over the years I have used both wooden and clear block stamps but I must admit I do prefer the clear blocks as it makes it easier to position your stamp exactly where you want it without having to guess.
You can use stamping to create cards, gift tags, bookmarks or in journalling. There really is no limit to what you can do with them, only your imagination.
To find a Stampin Up demonstrator near you just head over to the website or follow them on social media.
