A healthy glow is a wonderful confidence booster, but if you don’t live in a warm climate or you don’t want to risk skin damage caused by the sun’s rays, you can get a great tan with an instant tan product. Yet we’ve all heard the horror tales of streaks and blotches, so to avoid the tangoed look, there are three unbreakable laws for applying a natural-looking self tan.
Don’t skim the preparations

Before applying fake tan, you should exfoliate thoroughly, as dry skin and rough spots cause unsightly patching. If your skin is a little dry or has been neglected, plan a few days of rigorous exfoliation and moisturising as part of your skincare routine to ensure your skin is soft and receptive to the tanner.
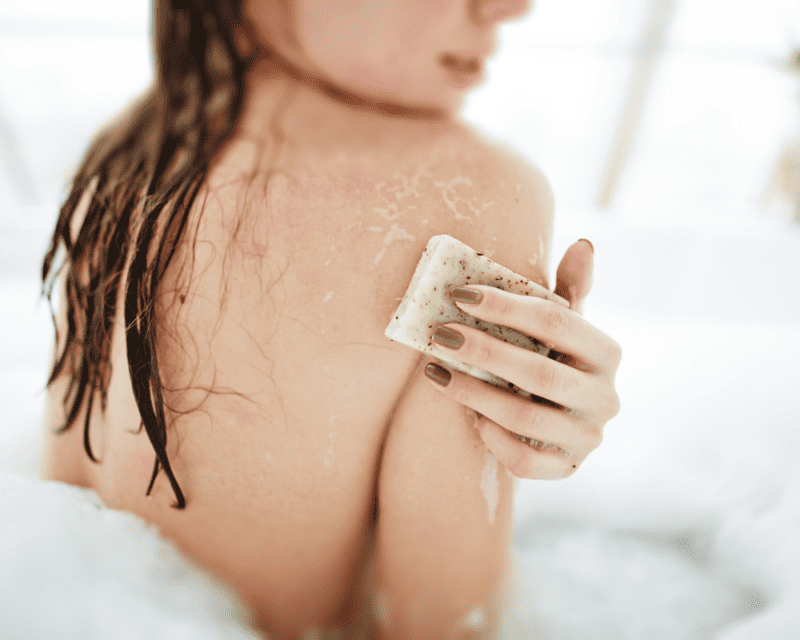
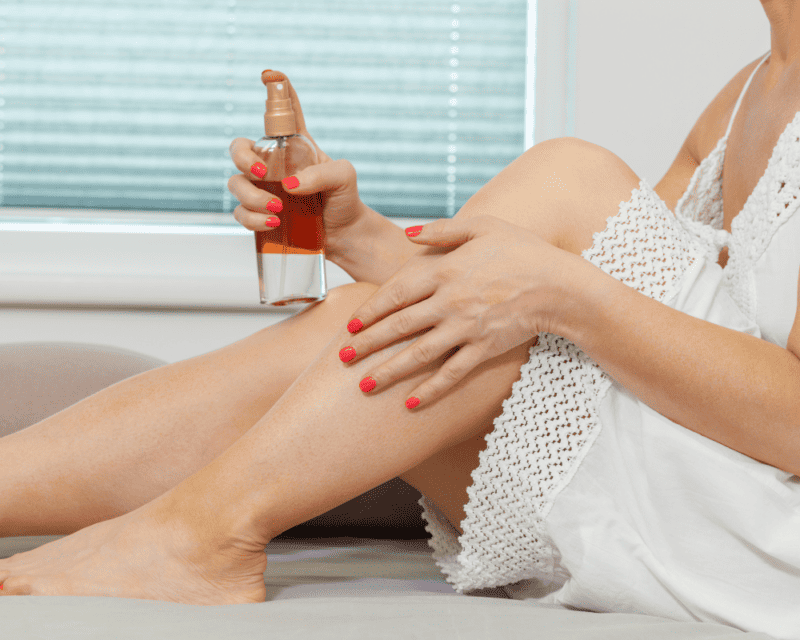
Using a body brush, a body scrub or a rough cloth, use a circular motion all over your body, paying particular attention to those areas which tend to be dry, such as the elbows, ankles, wrists and knees. Apply moisturiser or light body oil and leave it to soak in, using a heavier layer on the rough areas to normalise the epidermis, and repeat this process daily until your skin is soft and smooth.
So that the tanner doesn’t sit in your pores, shave your legs the night before you apply the fake tan and give your skin time to settle. Always ensure that your moisturiser is applied a few hours before you use the tanner to have a better chance of an even application. Just before applying the fake tan, smear Vaseline on your nails and cuticles (hands and feet), hairline and eyebrows to avoid staining – particularly if your hair is a light colour.
Choose the right product for your skin type
When it comes to self-tanning, it is important to choose the right product for your skin type. Salty Face offers many self-tanning products, so you can easily find the one that suits you best. The three laws for self-tan products are: First, make sure you choose the right self-tan product that best suits your skin type. Second, always follow the directions on the product, as using too much or too little can cause an uneven tan. Third, always exfoliate your skin before application to remove dead skin cells for a smooth and even tan. This will also help your tan last longer and give you a natural-looking tan. With these three simple rules, you can choose the perfect self-tan product and achieve the perfect sun-kissed look!
Take your time with the application

Even expensive products will look cheap if the application is slapdash. It is best to apply the tanner methodically to ensure you don’t miss bits and gently ensure the coverage is smooth. Starting with your arms and legs, work on one limb at a time, only moving on to the next area when your skin is evenly covered. You can use tan mitts (available from most chemists), thin rubber gloves, or even a pair of socks to protect your hands and make the application even.
If the application seems heavy, use a clean sock or mitt to remove the excess and even the colour. When dealing with the difficult areas of elbows, knees and ankles, some recommend applying the tanner as usual and then rubbing it off with a clean cloth – enough will remain to colour the skin naturally but not so much as to cause patching.
Use a cotton wool ball dipped in nail polish remover if you need to remove unwanted tanner from between fingers and toes. To keep palms clean without touching the back of your hands, wipe them on a damp wash cloth, but always remember to wait at least 10 minutes before getting dressed to prevent streaking.
