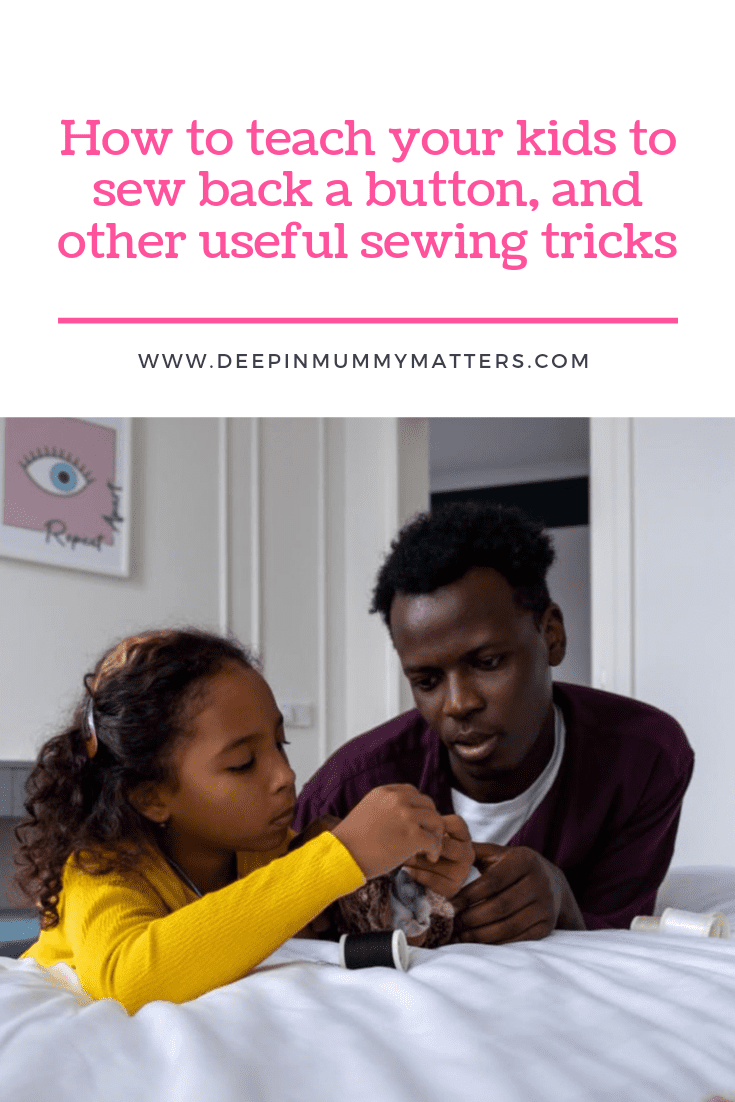
Are you looking for a fun and useful activity to do with your kids? Why not teach them how to sew! Sewing is not only a great skill to have, but it’s also a great way to spend some quality time with your little ones.
In this article, we’ll show you how to teach your kids to sew back a button, and other useful sewing tricks. With just a few simple supplies and some patience, you’ll be able to turn your kids into little sewing experts in no time!
Teach them to be familiar with sewing supplies
Assuming you don’t have a sewing machine at home, teaching your kids to sew by hand is a great way to not only introduce them to the world of sewing but also give them useful life skills. It’s good to expose beginner sewers to hand sewing supplies before transitioning to sewing machine parts and supplies. It will give flexibility in making simple sewing tasks even without a sewing machine. For starters, teach them to be familiar with using the following supplies:
- needle
- thread
- buttons
- fabric scraps
- scissors
Once they know how to identify these supplies and how to use them, you can smoothly transition to teaching them basic sewing skills like sewing back a button.
Show them a step-by-step demonstration and guide them
You should keep in mind that children have different learning approaches. One of the best ways to teach them is to give them a demonstration of how sewing is done before letting them try sewing on their own. To help them understand and learn effectively, here are some instructions you can share:
- Start by teaching your child how to thread a needle. You can do this by holding the needle up to a light source, so they can see the tiny hole at the end. Then, show them how to thread the needle by holding the thread behind the needle and pushing it through the hole.
- Once the needle is threaded, demonstrate how to tie a knot at the end of the thread. You can do this by making a small loop at the end of the thread and then passing the thread through the loop to form a knot.
- Next, show your child how to sew on a button. First, place the fabric scrap wrong side up on a flat surface. Then, position the button in the centre of the fabric and put a needle through one of the holes in the button.
- Thread the needle up through the fabric and then back down through the other hole in the button. Pull the thread until the button is snug against the fabric, then tie a knot in the thread to secure it in place.
- Finally, show your child how to make a simple stitch. To do this, put the needle through the fabric from the backside to the front side. Then, hold the thread taut and put the needle back through the fabric, about 1/4 inch away from where it first came through. Repeat this process until you’ve sewn all of your desired stitches.
Show them how to mend a ripped seam
Aside from sewing back a button, one of the most useful sewing skills you can teach your kids is how to mend a ripped seam. It’s a simple skill, but it’s one that can come in handy time and time again. Plus, it’s a great way to extend the life of their clothes.
To mend a ripped seam, start by threading a needle with matching thread. Then, knot the end of the thread and insert the needle into the fabric on one side of the rip. Next, bring the needle up through the fabric on the other side of the rip. Finally, make a few small stitches along the length of the rip to secure it.
Teach them how to patch a hole in their clothes
One of the most useful sewing tricks that every parent should teach their kids is how to patch a hole in their clothes. Not only is this a great way to save money, but it’s also a great way to extend the life of your child’s clothing. All you need is a needle, thread, and some fabric patches.
Here’s how to do it:
- Start by threading the needle with a length of thread that’s about twice the size of your arm. Knot the end of the thread to secure it.
- Next, hold the fabric patch over the hole in the clothing and start sewing it on by poking the needle through the fabric and then back up again.
- Continue sewing the patch in this way, making small stitches that are evenly spaced out.
- Once the patch is secure, knot the thread to finish and trim any excess thread.
- That’s it! Your child’s clothing is now patched and good as new.
Let your child practice
One of the most important things to do when teaching your kids to sew is to let them practice. This is how they will learn and become better at sewing. Give them some old clothes or fabric scraps to practice on, and let them sew to their heart’s content. This will help them get a feel for the needle and thread, and they’ll also make some mistakes that they can learn from.
These are just a few tips on how to teach your kids to sew back a button. With a little patience and practice, your child will be an expert in no time!

