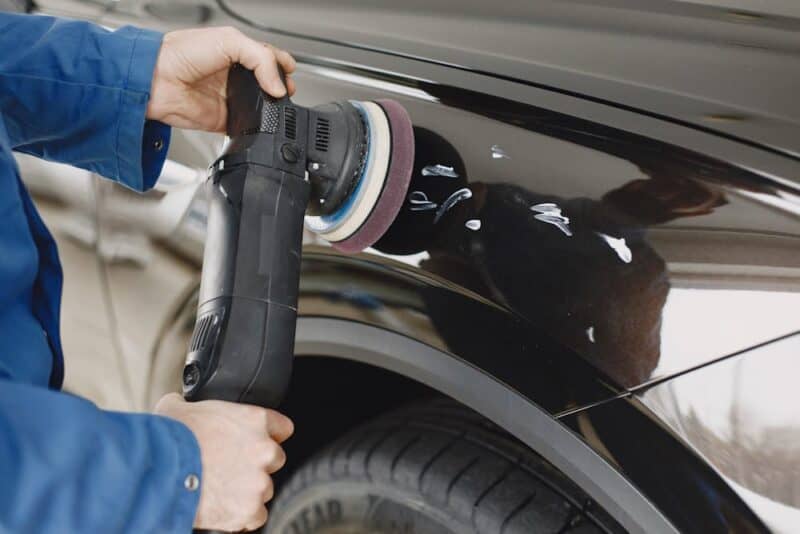
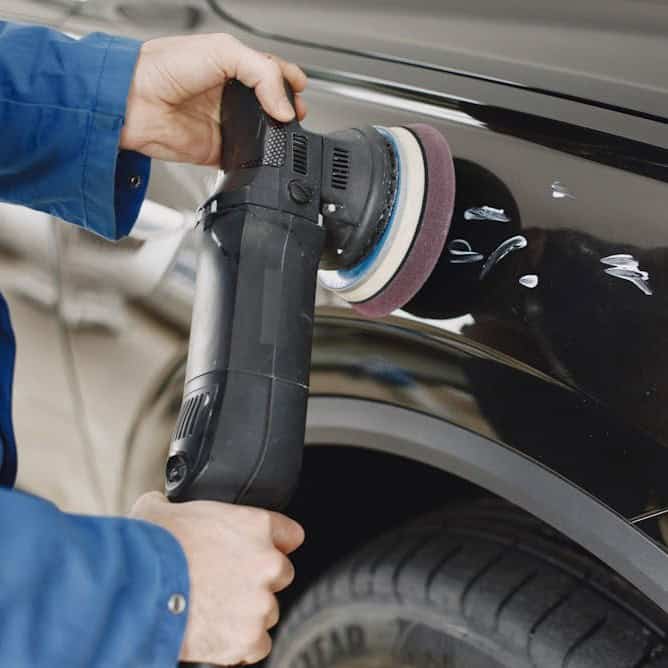
Paint correction is a meticulous detailing process that aims to restore a vehicle’s paint surface to its original condition by removing imperfections such as swirl marks, scratches, oxidation, and water spots. This guide will walk you through the paint correction process step-by-step, ensuring you understand each phase and its importance. Whether you plan to undertake this process yourself or have a professional handle it, knowing what to expect will enhance your experience and results.
Step 1: Assess the Condition of the Paint

The first step in the paint correction process is assessing the condition of your vehicle’s paint. This assessment helps you understand the extent of the imperfections and determine the best approach for correction.
- Visual Inspection: Carefully examine the paint under direct sunlight or bright artificial light. Look for swirls, scratches, hazing, and other imperfections. Use a light source to spot defects that may be difficult to see otherwise.
- Paint Thickness Measurement: Using a paint thickness gauge can help you determine the thickness of the clear coat. This measurement is crucial because it guides your polishing techniques and ensures you don’t remove too much material during the correction process.
Step 2: Wash and Decontaminate the Surface
Before beginning any correction work, the vehicle must be thoroughly washed to remove dirt, grime, and contaminants that could interfere with the correction process.
- Two-Bucket Wash Method: Use the two-bucket method—one for soapy water and another for rinsing your wash mitt. This technique helps prevent dirt from scratching the paint during washing.
- Clay Bar Treatment: After washing, use a clay bar to decontaminate the paint surface. This step removes embedded contaminants such as tree sap, industrial fallout, and brake dust that a regular wash cannot eliminate. Lubricate the surface with a clay bar lubricant to prevent scratching while working.
Step 3: Choose the Right Polishing Products
Selecting the right products for paint correction is essential for achieving optimal results. Consider the following factors:
- Polishing Compounds: Choose a range of polishing compounds with varying abrasiveness, from heavy-cut compounds for deeper scratches to finishing polishes for refining the paint’s clarity and gloss.
- Pads: Use different pads for various stages of correction. Generally, you’ll want to use more aggressive foam or wool pads for cutting and softer pads for polishing.
- Polisher: Select a dual-action (DA) or rotary polisher, depending on your experience level. DA polishers are user-friendly and less likely to damage the paint, making them a popular choice for beginners.
Step 4: Paint Correction Process
With the vehicle cleaned and the right products selected, you can begin the actual paint correction process. This step requires precision and attention to detail.
- Testing: Start with a test spot in a less visible area of the vehicle to determine the right combination of compound, pad, and technique. This step helps you fine-tune your approach without risking the entire paint surface.
- Cutting: Using a more abrasive compound and a cutting pad, begin working on the most heavily damaged areas. Apply the product to the pad and the vehicle surface, and then work in small sections (about 2×2 feet). Use slow, controlled movements and apply consistent pressure to maximize cutting effectiveness.
- Polishing: Once the cutting stage is complete, switch to a less abrasive polish and a polishing pad. This step refines the surface, eliminating any haze or micro-swirls left by the cutting stage. Again, work in small sections and use a similar technique.
- Finishing: Finally, use a finishing polish and a soft finishing pad to enhance the gloss and clarity of the paint. This step brings out the shine and prepares the surface for protection.
Step 5: Inspect the Results
After completing the correction process, it’s crucial to inspect the results.
- Visual Inspection: Look for any remaining imperfections, such as scratches or swirls. If you find areas that still require attention, repeat the correction process on those spots.
- Feel Test: Run your hand over the paint surface. It should feel smooth and slick, indicating that contaminants and imperfections have been effectively removed.
Step 6: Clean the Surface
Before applying any protective layers, clean the surface to remove any polish residue and dust generated during the correction process.
- IPA Wipe Down: Use isopropyl alcohol (IPA) diluted with water (usually a 50:50 ratio) to wipe down the surface. This step helps ensure a clean, residue-free surface for the application of wax or sealant.
Step 7: Apply Protection
To protect the newly corrected paint, apply a sealant or wax. This final step is essential to maintain the results of the correction process and safeguard the paint against environmental damage.
- Sealant vs. Wax: Choose between a synthetic sealant, which typically lasts longer and offers more durability, and a natural wax, which provides a warm, deep shine but may require more frequent reapplication.
- Application: Follow the manufacturer’s instructions for application. Use a clean microfiber applicator for even coverage, and allow the product to cure as recommended.
Step 8: Regular Maintenance
Once the paint correction process is complete and protection has been applied, maintaining your vehicle’s appearance is vital.
- Regular Washing: Use pH-neutral car wash soap and proper washing techniques to avoid introducing new imperfections.
- Periodic Inspections: Regularly inspect the paint for any new scratches or blemishes and address them promptly to prevent further damage.
- Reapply Protection: Depending on the products used, reapply wax or sealant every few months to maintain the protective layer.
Conclusion
The paint correction Calgary process is an intricate and rewarding endeavour that can dramatically enhance your vehicle’s appearance. By following these steps—from assessment to protection—you can achieve professional-level results that restore and protect your car’s paint. Whether you choose to undertake this process yourself or hire a professional, understanding the paint correction process will empower you to make informed decisions about maintaining your vehicle’s finish. Remember that proper care and regular maintenance will help keep your car looking its best for years to come. For top-notch auto detailing services in Calgary, visit cardetailcalgary.com to give your vehicle the care it deserves!

