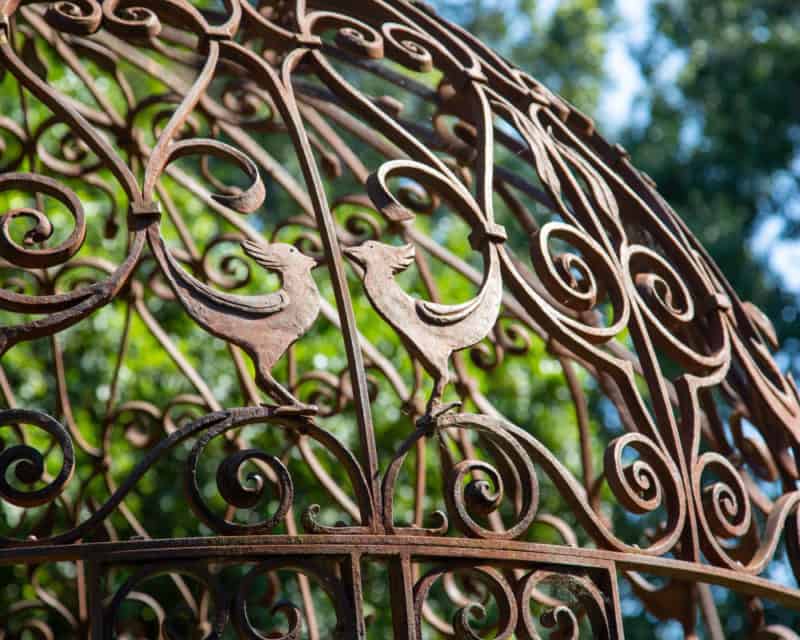
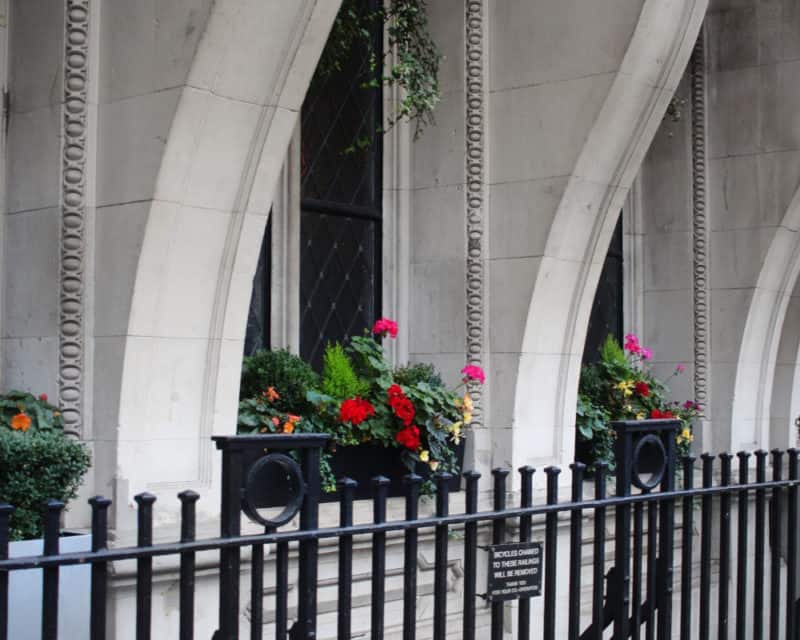
Metal is used for its strength, ductility and malleability in a number of ways – machines, everyday items, decoration, benches, equipment, and more. However, if left in the open, it can fall prey to rust, tarnish and discolouration – these not only affect the look of the metal but have a largely negative impact on its quality. If you are currently working on a DIY project that involves metal – old or new, you probably want to protect it from all of this, or want to rejuvenate it. Paint will be your friend here. A good layer of paint all over your metal piece will help you give it a layer of protection from any contamination or rust from outside and also help you turn an old piece of metal into something bright and new! However, if you are new to all of this, you probably need a little metal paint guide.

Here is a small guide to give you an idea of how to paint or repaint metal objects and surfaces.
Step 1 – Preparing the surface
Getting the surface ready for painting is one of the most important steps in this whole process. It is not really complicated, but if you leave even a little speck of dirt or openings, it can prove fatal to your little project. Preparing the surface comes with five little steps in itself.
Cleaning the surface
Use mineral spirits and other cleaning agents to remove all external particles and dust from the surface you are working on.
Removing loose and peeling old paint
Before you move on to paint your metal surface, you need to make sure that no rust is left on it. Rust is metal’s worst enemy and it is important to get rid of it before doing pretty much anything with your metal piece. To get rid of rust, you can use a brush to clean off loose rust and sand the surface to restore the metal to its original state.
Repairing small holes and dents
Once your metal surface is flat and dent free, you can finally prime the surface. Choose the right primer according to your needs and apply an even layer to your surface to protect it from moisture and other environmental conditions. If you are working with metal, it is best to use rust converters or galvanized primers for your surface. Once you clean and apply two layers of primer to your surface, you are all set to paint your metal!
Step 2 – Applying the paint

If you are working with metal, you are probably working with acrylic paint. If you have any doubts or are in need of more tips and details, you can refer to this metal paint guide for some help.
Once your surface is completely clean and primer has been applied, you can start applying the first coat of your paint – with a brush or a paint sprayer. Make sure your first layer is not too thick and try to make it as even as possible. This will help you keep the final layer even and help it dry fast. Remember to apply the next layer of paint only when you are completely sure that the first or the previous layer is totally dry.
Step 3 – Applying the final coat
If the layer of paint on your metal surface is too thin, it will start scraping off whenever the object is being used, and if it is too thick, it will get chunky and start breaking off after just a little blow. It is best to apply three even layers of paint to your metal surface. Once you apply the final coat of paint, you should wait for about 48 hours, and you can finally use your metal object.

