
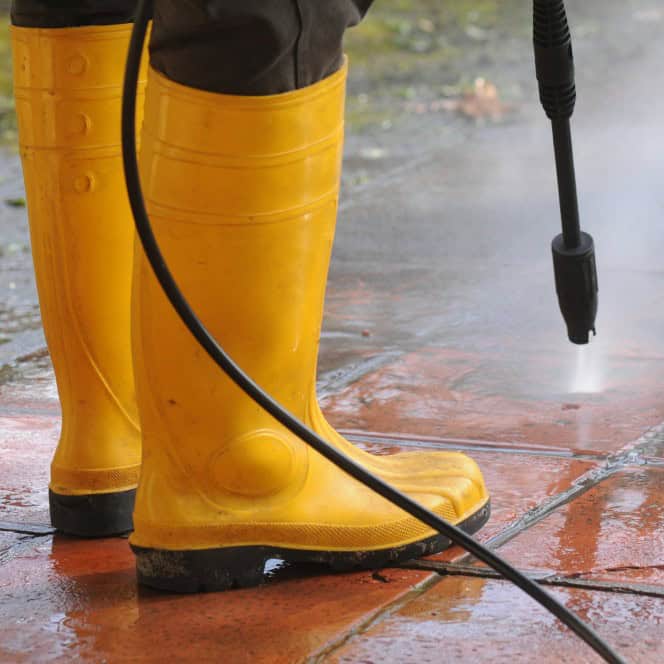
Pavers add polish and practicality to gardens, patios, and driveways. When they’re kept clean, they lift the entire space. A pressure washer can work wonders in restoring its original look, but if used carelessly, it can also cause unexpected damage.
With a bit of know-how and a steady hand, you can refresh your pavers safely and keep them looking sharp year-round.
Know What You’re Working With

First things first, not all pavers are made equal. The material dictates how much pressure it can handle and which techniques are safest.
Concrete pavers, commonly used in driveways and paths, are solid and cost-effective. However, they are not indestructible. A blast that’s too strong can cause surface wear or expose tiny cracks.
Brick pavers bring classic character, but are softer and more porous. They respond best to a gentler wash. Too much force can wear them down or even dislodge them.
Then there are natural stone pavers—like granite, slate, or sandstone—which look refined and tend to weather well. Still, their textured surface can suffer under intense pressure. A light touch and a wide spray keep their surface intact.
On a general note, getting familiar with your paving type allows you to tailor your method and avoid unintentional damage.
Take a Careful Look Before You Begin
Before you roll out the washer, walk over the area and check the condition of your paving. Any cracks, wobbly bits, or loose joints? These should be dealt with first. Strong jets can easily make existing issues worse.
If you spot small stains or grime patches, try tackling them with a stiff brush and soapy water first. Often, that alone will lift surface dirt and help you avoid using high pressure altogether.
It’s also a good idea to take a few photos before you begin. This helps track your progress and provides a clear record in case any concerns arise later on.
If the paving is quite old or looks particularly fragile, consider calling in professionals who specialise in driveway washing. They’ll know exactly how to handle it safely.
Choose Your Tools Wisely
Not all pressure washers are the same, and choosing the right one can make a big difference. Look for a model with adjustable pressure settings. That way, you can dial it down for fragile surfaces and turn it up slightly where it’s safe to do so.
If you only plan to use it once or twice a year, hiring might be the practical route. However, if you’re regularly cleaning patios, paths, or driveways, owning one can save both time and effort.
Just as important as the machine itself is the nozzle.
A 25-degree tip gives a good balance for most surfaces, while a 40-degree one is best for more delicate areas. Avoid tips with 0 or 15 degrees altogether. They concentrate the pressure too tightly and can gouge your pavers.
Furthermore, always test your settings on a small, hidden area first. It’s the safest way to spot problems before they become noticeable.
Get the Area Ready
Once you’ve got your tools sorted, take a few minutes to prepare the space. Clear the area of garden furniture, toys, planters, and anything else that could get in the way or be damaged by water spray.
Give the surface a quick sweep to remove leaves, twigs, or other loose debris. This will prevent the washer from spraying it back in your direction or embedding it into the surface.
If you have flower beds or delicate plants nearby, cover them with plastic sheeting. Even if you’re using a plant-safe cleaner, the force of the water can still cause damage.
And don’t forget about yourself. Gloves, sturdy shoes, and goggles offer sensible protection from splashes and loose grit.
Pick the Right Cleaner
While water alone can do a decent job, a proper cleaner makes life much easier—especially if you’re dealing with oil, moss, or algae.
Stick to products that are specifically designed for outdoor paving. These lift grime without damaging the surface or harming surrounding plants. In addition, avoid bleach or acidic solutions unless clearly marked as safe for your surface.
Moreover, follow the product instructions closely. Apply it evenly, let it sit for the recommended time, then rinse it off gently using your washer. A little patience here really does go a long way.
Clean Slowly and Evenly
With everything in place, it’s time to start cleaning. Hold the spray nozzle roughly 45 centimetres from the surface to begin with. Move it in smooth, overlapping strokes, keeping the motion steady and consistent.
Don’t hover in one spot. Even at a moderate setting, standing still with the jet can etch or discolour the surface. If you find a stubborn patch, go over it again gently, or try brushing in some extra cleaner before rinsing.
Clean small sections at a time. This makes it easier to control and lets you see how the surface is responding. Keep an eye on your pace and adjust the pressure if needed.
Taking your time ensures a more even result and helps you avoid streaks or damaged patches.
Finish the Job Properly
Once the cleaning is done, don’t rush to put everything back. Let the area dry fully before moving on. Wet surfaces can be slippery and will interfere with any aftercare treatments.
When it’s dry, top up the gaps between the pavers with fresh kiln-dried sand. This helps lock everything in place and keeps weeds and water from creeping through. Sweep it into the joints, then lightly mist with water to help it settle.
You might also consider using polymeric sand. It firms up slightly when wet and offers longer-lasting protection.
Looking after your pavers doesn’t end with the wash. A quick sweep every couple of weeks, and dealing with moss or stains early, can prevent future build-up and prolong the life of your paving.
Avoid These Common Pitfalls
Even with the best intentions, things can go wrong. Knowing what to avoid makes all the difference.
One of the most common mistakes is turning the pressure up too high. People often think more power means a better clean, but it can easily damage the surface or strip out joint sand. Always start low and increase only if necessary.
Another error is skipping a test patch. Testing in a discreet corner helps you fine-tune your spray angle, pressure, and cleaning product without risking the visible parts.
And don’t rely on water alone. A proper cleaning solution reduces the need for force and helps remove stains more effectively.
Finally, take care not to rush. A hasty job often results in missed spots, uneven cleaning, or worse—permanent marks that are difficult to fix.
Conclusion
Job done. You’ve taken on the grime and won, giving your pavers the care they truly deserve. With a bit of effort and the right technique, you’ve transformed your space beautifully.
Now pour yourself a cuppa, take a step back, and enjoy the view. You’ve earned it.