

The most powerful tool in your kitchen just might be located on the tip of your faucet. It’s called an aerator and it was engineered not long after World War Two to break up the flow of tap water while adding air to it. The end result is that you use far less water and, at the same time, enjoy increased water pressure which is ideal for cooking and washing. Sounds good, right?
Here’s the catch: Since faucet aerators utilize a small, dime-sized screen to perform its job properly, the screen also acts as a filter. That means it can get clogged with debris, dirt, and calcium build-up. When this happens, your water flow becomes interrupted. The only way to remedy the situation is to clean the aerator.
According to the professionals at Aerator.com, one of the most efficient ways to clean you faucet aerator is by using an aerator removal tool. Without it, you run the risk of doing damage to both your aerator and the expensive faucet it’s attached to.
That said, how can you remove your clogged faucet aerator on your own, even if you don’t own an aerator removal tool? A recent report by Your Cool Home states that knowing how to remove a faucet aerator is important since it will keep your faucet running clean and efficiently. If the water flow becomes uneven or weak, it’s likely your aerator has become clogged with dirt, debris, and mineral deposits. The removal and cleaning of the faucet aerator will restore optimum water flow and ultimately save you the cost associated with hiring a licensed plumber.
Simple Aerator Repair and Replacement
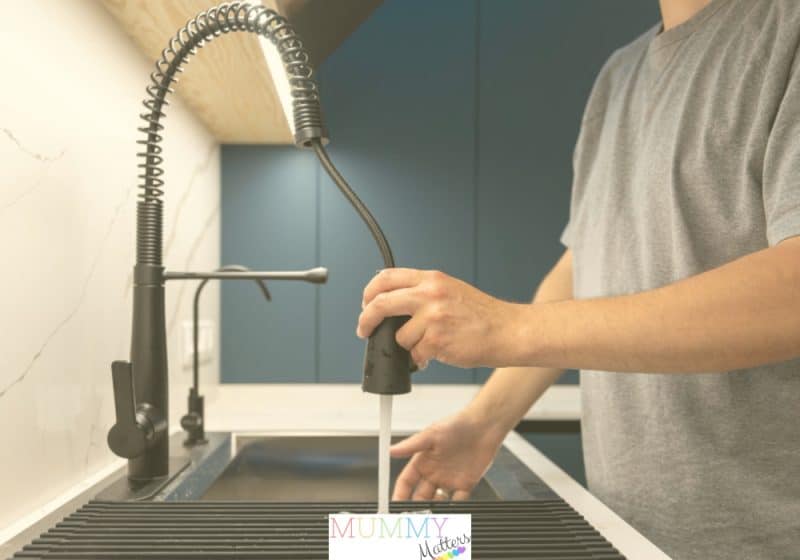
If your aerator is clogged, corroded, or old, removal is the first step in cleaning it or replacing it with a new one. If you have a good understanding of how to safely remove a sink aerator, you will have the confidence to DIY (Do It Yourself) the project without the assistance or cost of a plumber.
Troubleshooting begins with examining your kitchen faucet for existing problems. If the faucet is leaking or producing an unusual water flow, it’s likely due to a problematic aerator. But if you know how to remove the faucet aerator on your own you can investigate the cause of the blockage without requiring the expensive services of a professional.
Here’s how to remove your clogged faucet aerator on your own.
Gather the Necessary Tools
It’s possible you will only need your fingers to remove the clogged aerator. But you might also require the use of basic tools like pliers or a wrench, depending on how tight the aerator is screwed on to the faucet. Wrap the wrench or pliers around the aerator. But first make sure to wrap the aerator with a piece of duct tape or a cloth to avoid scratching the surface.
Don’t want to use a wrench or pliers? If you have a rubber jar opener hanging around, it can help you grip the aerator better without causing damage.
Gripping the Aerator
The majority of aerators are designed to screw onto the faucet tip. You will use your fingers along with a jar opener to turn it counterclockwise to loosen it up. If it’s too tight, wrap the aerator with a cloth or tape as described above, and utilize your pliers or a wrench to remove the stubborn aerator. Keep in mind, you want to apply steady, gentle pressure to avoid damaging the aerator or the faucet.
Removing the Aerator
Once it’s loose enough, you can unscrew the clogged aerator by hand and remove it. Make sure to keep a firm hold on the aerator so that it, and the components it contains, don’t fall into the sink drain. Make a thorough inspection of the aerator for dirt, calcium buildup, and damage.
Clean or Replace as Required
The next item of business is to soak the clogged faucet aerator in a descaling solution or vinegar to dissolve all the calcium and mineral deposits. Once that’s done, you can brush the mesh screen with a toothbrush to make certain all the debris is cleared away.
If it so happens that the aerator is worn out or damaged, you need to purchase a new one. Make sure it matches your faucet size, style, and make. In the end, knowing how to go about DIYing your aerator removal is a household skill that can save you money. Depending on where you live, you might find yourself cleaning both your kitchen and bathroom faucet aerators once or twice per year. By keeping the calcium deposits at bay, your aerators can last for years and years, providing you with high-pressure tap water that makes cleaning and cooking a satisfying experience.