
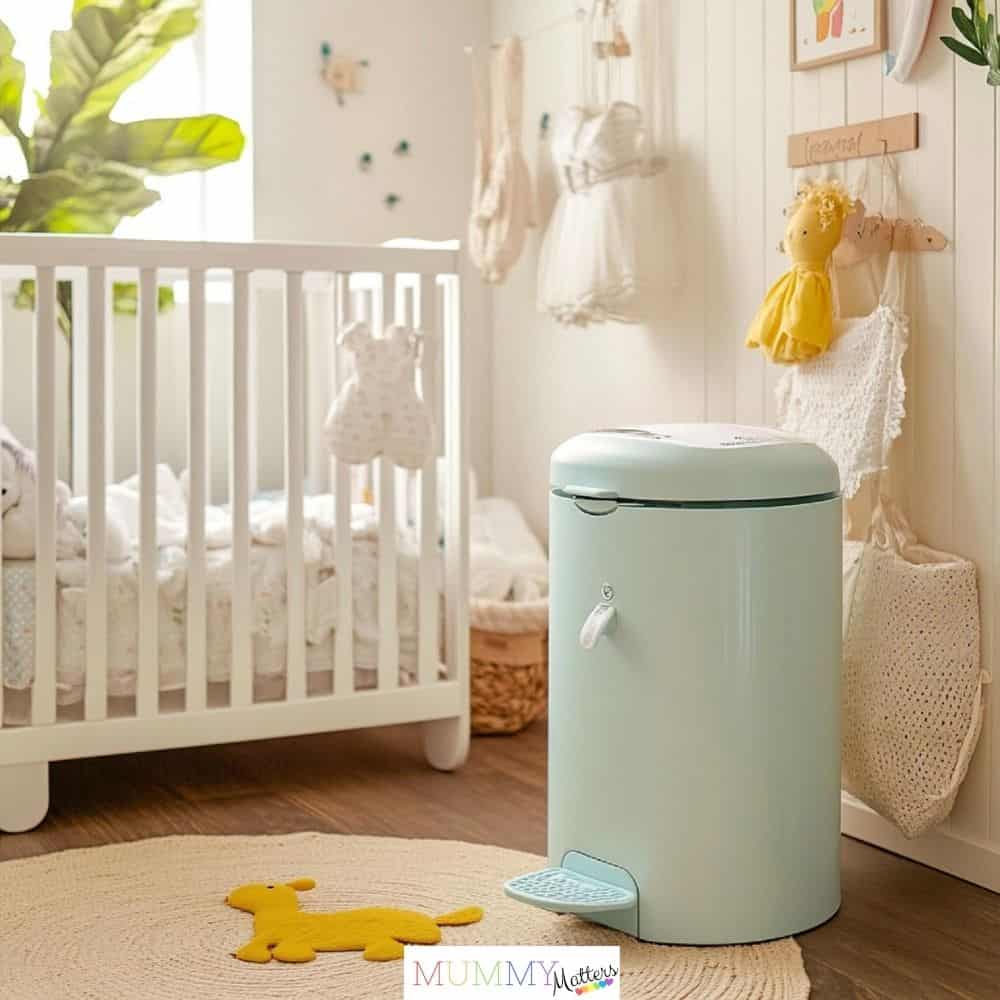
Bringing a new baby home comes with endless moments of joy, but it also brings an immediate, ongoing challenge: managing an extraordinary volume of dirty diapers. Infant care involves frequent changes throughout the day and night, meaning your nursery waste container works overtime. Selecting a high-performance Momcozy diaper pail odor control solution goes a long way toward keeping the room fresh, yet even the most well-designed container needs proper habits, regular routine care, and smart environmental management to remain odor-free over time. Trapped moisture, organic residue, and improper bag changes can eventually lead to unpleasant lingering smells. Understanding why these odors form and implementing targeted maintenance strategies will help you maintain a clean, inviting atmosphere in your baby’s nursery.
Why Diaper Pails Develop Unpleasant Odors
To effectively manage nursery smells, it helps to understand what causes them in the first place. Newborn and infant waste contains organic compounds that naturally break down over time. As bacteria digest these waste materials, they release volatile sulfur compounds and ammonia, which are responsible for distinct, sharp smells.
Several factors accelerate this natural process inside a diaper container:
Trapped Humidity: Liquid waste creates a damp microclimate inside the pail. High humidity accelerates bacterial activity, causing odor compounds to intensify rapidly.
Lack of Airflow: While an airtight seal is crucial for preventing smells from leaking into the room, that same seal traps moisture inside, creating ideal conditions for mildew and persistent odors on interior surfaces.
Plastic Porosity: Many plastic materials possess micro-porous structures. Over months of exposure, odor molecules can slowly penetrate the plastic walls, making the smell linger even after you throw away the trash bag.
Soiled Interior Mechanisms: Small spills, leaky diapers, or accidental contact with the rim during insertion leave unseen organic traces on internal trap doors, springs, and seals.
Recognizing these underlying causes helps you address the root of the problem rather than simply masking lingering smells with heavy fragrances.
Everyday Practices for Effective Diaper Pail Odor Control
Maintaining a fresh nursery starts with daily habits that minimize odor production before it takes hold. Small changes in how you prepare dirty diapers and manage the pail significantly impact the overall air quality in the room.
Wrap Diapers Securely Before Disposal
Never throw an open or loosely folded diaper directly into the waste receptacle. Fold the diaper tightly inward, using its adhesive tabs or tape strips to seal the contents into a compact bundle. For particularly heavy or wet diapers, consider placing them in a small disposable pouch or wrapping them in an extra layer of paper before inserting them into the pail. This simple step creates a physical barrier that drastically reduces exposed surface area and limits moisture evaporation inside the container.
Dump Solid Waste Into the Toilet
A common oversight in diaper management is placing solid waste directly into the trash pail. Whenever feasible—especially once your baby transitions to solid foods—shake or dump solid waste into the toilet before wrapping and discarding the diaper. Reducing the volume of organic waste stored in the nursery instantly lowers the intensity of odors generated inside the container.
Maintain a Consistent Emptying Schedule
Allowing a waste container to reach total capacity creates optimal conditions for strong odors. Even if the bag is not entirely full, establish a routine of emptying the contents every two to three days. In warmer weather or humid environments, daily removal may be necessary. Frequent emptying prevents pressure buildup and ensures that trap mechanisms close completely without catching on overfilled bags.
Deep Cleaning Your Diaper Container: Step-by-Step
Even with careful daily habits, every diaper waste system requires periodic deep cleaning. Aim to thoroughly wash and sanitize the container once every two to four weeks to remove trapped moisture and surface residue.
Step 1: Empty and Strip the Unit
Remove the current refill bag or trash liner completely. Take out any removable parts, such as drop doors, rubber seals, or internal ring mechanisms, according to the manufacturer’s directions. Take the entire unit out of the nursery—preferably outdoors or into a well-ventilated bathroom—to avoid distributing trapped smells into living spaces during cleaning.
Step 2: Wash with Mild Soap and Warm Water
Avoid aggressive chemical cleaners or harsh solvents that could degrade rubber gaskets or warp plastic seals. Instead, use a soft sponge, warm water, and a mild dish soap with grease-cutting properties. Thoroughly scrub all interior walls, the underside of the lid, hinges, and any trapdoor mechanisms where residue might collect.
Step 3: Neutralize Smells with Natural Agents
To draw out lingering smells embedded in internal surfaces, apply a gentle neutralizing solution:
Baking Soda Scrub: Create a paste using three parts baking soda and one part water. Rub this paste gently over plastic interior walls, allow it to sit for 15 to 20 minutes, then rinse thoroughly with clean water.
Diluted Vinegar Spray: Mix equal parts white distilled vinegar and warm water in a spray bottle. Spray the entire interior and let it sit for 10 minutes before wiping down. The natural acetic acid breaks down odor-causing alkaline compounds without leaving toxic residues.
Step 4: Allow Complete Air-Drying
This is the most critical step in the cleaning process. Never insert a new bag or close the lid while the interior is still damp. Trapped moisture creates an ideal environment for mildew and bacterial growth, undoing all your cleaning efforts. Place the open container in direct sunlight or a well-ventilated area for several hours until every component is completely dry. Direct sunlight also acts as a natural deodorizer and ultraviolet disinfectant.
Smart Placement and Environmental Factors
Where you place your diaper storage system within the nursery plays a surprising role in how well it controls odors. Temperature, airflow, and direct heat sources directly influence odor generation.
Direct Sunlight & Heat: Position the unit in shaded, cool corners of the room. Avoid placing it near radiators, floor vents, or in direct sunlight through windows.
Air Circulation: Keep the unit in an open area with moderate ambient room ventilation. Avoid tucking it inside tight, closed closets or enclosed cabinets with zero airflow.
Proximity to Changing Station: Place it within arm’s reach of the changing table for safe, quick disposal, but avoid placing it too close to cribs or air supply vents that blow air across the unit toward the bed.
Excess heat warms the contents of the container, accelerating bacterial breakdown and causing trapped air to expand, which forces smells past seals. Keeping the unit cool slows down decomposition significantly.
Supplemental Odor Absorbers That Actually Work
In addition to regular cleaning and proper placement, strategic use of natural deodorizing agents can provide continuous absorbency between bag changes.
Activated Charcoal Bags: Unscented activated charcoal inserts excel at trapping volatile organic compounds without adding artificial fragrances to the air. Place a small pouch inside the bottom of the outer shell, beneath the liner bag.
Baking Soda Sprinkle: Dusting a tablespoon of pure baking soda into the bottom of each fresh bag neutralizes acidic odors as waste accumulates.
Avoiding Heavy Perfumes: Resist the temptation to use heavily scented air fresheners, sprays, or scented oils directly inside the container. Fragrance sprays often combine with waste smells, creating a stronger, more unpleasant aroma while doing nothing to absorb the underlying moisture or bacteria.
Common Mistakes That Worsen Nursery Smells
Avoiding routine errors can save time and prevent stubborn odors from establishing themselves in your home:
Forcing Overfilled Bags Through the Trap: Forcing a bulging bag out through the top aperture can tear the liner, spilling contents or liquid into hidden crevices of the internal mechanism.
Neglecting the Rubber Gaskets: The silicone or rubber seals around the lid rim prevent odor escape. Over time, dust and debris can collect on these gaskets, preventing a tight seal. Wipe them down weekly with a damp microfiber cloth.
Using Incorrect Bag Sizes: Standard trash bags that slip down or gather around the rim can prevent trap doors from shutting completely, allowing room air to mix with interior air continuously.
Frequently Asked Questions
Why does my diaper pail still smell after I completely cleaned it?
If an unpleasant smell persists after thorough washing, odor molecules have likely absorbed into the microscopic pores of the interior plastic. To remedy this, place the opened container outside in direct sunlight for a full day. The UV rays help break down embedded organic compounds. Additionally, lining the bottom with activated charcoal or leaving a bowl of baking soda inside overnight with the lid closed can help extract deep-seated odors.
Can I use regular kitchen trash bags in my diaper pail?
While some diaper disposal units accommodate standard kitchen bags, dedicated multi-layer refill bags engineered specifically for diaper waste offer significantly higher barrier properties against vapor and gas transmission. Thin standard trash bags allow odor molecules to permeate through the plastic film over time, even when sealed tightly.
How often should I replace odor-absorbing inserts?
Natural absorbents like activated charcoal pouches typically remain effective for four to six weeks depending on room humidity and usage levels. Many charcoal bags can be refreshed and reactivated by placing them in direct sunlight for one to two hours every month, extending their total usable lifespan up to a year.
Is it safe to use bleach or disinfectant sprays inside a diaper container?
Harsh chemical agents like concentrated bleach can degrade rubber seals, discolor plastics, and leave strong chemical fumes in an infant’s room. It is safer to use mild dish soap, diluted vinegar solutions, or specialized child-safe cleansers. If you choose to use a disinfectant spray, ensure the unit is thoroughly rinsed and completely air-dried before returning it to the nursery.
How many days can dirty diapers sit in a pail before changing the bag?
For optimal air quality, avoid letting waste sit longer than two to three days, even if the bag capacity allows for more storage. Newborns generate frequent changes, and removing waste every 48 to 72 hours stops heavy moisture accumulation before severe odor breakdown occurs.
Conclusion
Managing nursery odors does not require complicated routines or harsh chemical sprays. By understanding how waste breakdown occurs and pairing a quality disposal system such as the Momcozy Triple-Seal Diaper Pail with smart everyday habits—such as tight wrapping, regular emptying, strategic room placement, and monthly deep cleaning—you can easily maintain a clean, comfortable, and fresh environment for your baby. Consistency is key: addressing moisture and residue promptly ensures your nursery remains an inviting space focused on caring for your child.