
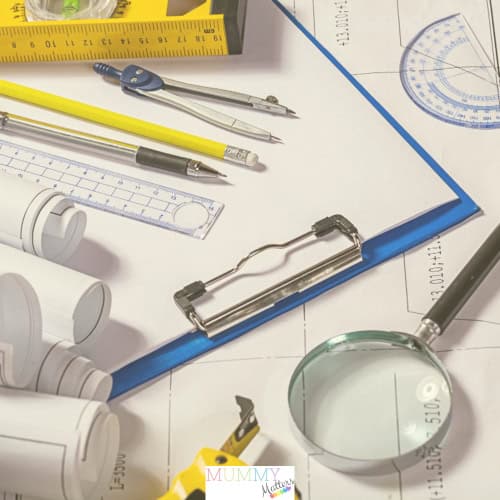
Starting a journey into architectural drafting feels a bit like preparing for a voyage. You need the right kit before you set off, or you’ll find yourself stranded with a brilliant idea and no way to express it properly. While digital software is huge these days, manual skills remain the bedrock of understanding spatial relationships. If you are setting up your workspace, here are the tools every drafting beginner should own to get off to a flying start.
The Right Surface To Work On

Before you start, think about your workspace. Drafting needs stability, and a standard desk might not cut it. A smooth, hard drawing board or drafting table is essential. If space is tight, try a portable drawing board with parallel motion bars. These let you work precisely, even on a dining table.
Pencils and Lead Holders
Drafting requires a variety of line weights to convey depth and detail accurately. You should avoid standard pencils and use mechanical versions to ensure consistent line width without sharpening. Most beginners benefit from keeping a range of sizes, such as 0.3mm for fine lines and 0.7mm for heavy borders. A clutch pencil is also useful for freehand sketching and shading.
Precision Measurement Tools
Accuracy is vital in architectural drafting. A high-quality triangular scale ruler is necessary because it provides six scales for easy dimension translation. Choose one made of aluminum or high-impact plastic to ensure the edges remain smooth and durable. You also need a set of 45-degree and 30/60-degree squares to draw vertical and angled lines. While adjustable triangles are available, fixed ones provide more stability for those just starting out.
The Compass Set
Drawing perfect circles requires steady hands and reliable gear. A cheap compass will slip and widen as you rotate it, ruining your arc. Invest in a bow compass, which uses a centre wheel to hold the legs in place rigidly. This mechanism prevents the radius from changing mid-circle, saving you a lot of frustration. Many sets come with extension bars, which you will likely need for larger site plans or radius curves.
Erasers and Shields
Mistakes happen, but in drafting, how you fix them matters. A soft vinyl eraser is standard because it removes graphite without tearing the paper’s surface. However, you also need an erasing shield. This thin piece of metal has various shapes cut out of it, allowing you to erase a tiny error without disturbing the surrounding lines. It is a simple tool that saves you from having to redraw entire sections.
Paper and Tape
Your medium is just as critical as your tools. Choosing the correct substrate affects how your ink or graphite sits on the page. While tracing paper is standard, you should familiarise yourself with the different options available for technical drawings. To keep that paper secure, drafting tape or dots are necessary. Unlike standard masking tape, drafting tape is low-tack, meaning it won’t rip the corners off your masterpiece when you remove it. Building your kit doesn’t have to happen all at once, but starting with quality basics makes learning much easier. Bad tools fight you; good tools disappear so you can focus on the design. By collecting these tools every drafting beginner should own, you are setting yourself up for a smoother, more enjoyable creative process.