Are your beloved wooden furniture pieces in dire need of restoration? Do you just refuse to throw away stuff and buy new? Whatever your reason is, refinishing your old furniture is a great hobby that will save you some money and keep our landfills empty.

But how can you do it at home? Here are a few DIY tips to follow:
See what you’re working with

Before you do anything, make sure to identify your current wood finish. Natural finishes like varnish, lacquer and shellac might need an experienced eye to identify, so you’ll need to experiment.
Try testing the surface by applying alcohol to hidden areas. If the finish starts coming off, you’re working with shellac. If you need a lacquer finish, it’s a lacquer, and if neither does the trick, you have varnish on your hands. Pigmented finishes like paint can be easily identified, lucky for us.
Start cleaning

Every piece that needs restoration probably needs a good cleaning first. No matter what you have, wood, rattan or wicker furniture, you can start with a commercial cleaner (oil-based) and go through the layers of dirt and wax build-up on the surface. If the cleaner doesn’t work well, you can try with warm water and a liquid detergent.
Dab the solution into the furniture with a cloth, but don’t get it too wet. If nothing works, you might need to invest in a specialized solvent cleaning for restoration—mineral spirits, turpentine or denatured alcohol.
Sand it down

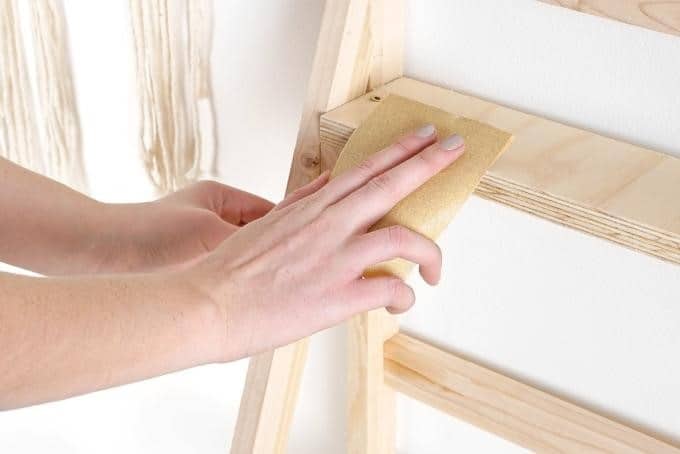
After your piece is cleaned and the old finish is removed, it’s time to sand it down. Any old piece certainly has some scratches and imperfections, so you want to smooth them out. These are two main ways you can sand your furniture: dry and wet sanding.
If you want a really smooth and shiny result, it’s best to opt for wet sanding. If you don’t know what is wet sanding, you can check out the Internet and find many useful tips and tricks that will make your furniture look amazing. Just remember that you need to leave your wood to dry properly (two or three days) before you continue your process.
If your furniture is made of plywood and veneer instead of solid wood, be careful with sanding. You can easily sand through the veneer and completely ruin your items. When it comes to solid wood sanding, you can be a lot more generous, even removing all old stains and getting to raw wood (Check out this review by Arthur if you need an electric sander for furniture refinishing).
Refinish your piece

Once you’re done with prep, here comes the fun part: refinishing your furniture with a fresh coat of finish, paint or stain. Of course, before you go painting or finishing, ensure all furniture repairs are done. If you need to fix anything from seating to large cracks in the wood, now’s the time, so be sure to have everything you need, from saws and hammers to plywood sheets From Cut Plastic Sheeting, on hand.
If you’re looking to refinish your furniture with a fresh coat of paint, you may want to consider using black paint. One thing to keep in mind when using black wood paint is that it can be quite challenging to achieve an even finish. It’s important to take your time and make sure that the coats are applied evenly so that you don’t end up with patches of lighter or darker colour.
When it comes to applying stain, it’s best to use a brush with natural bristles, leave the coat on for about five minutes and wipe off the excess with a clean rag. Finish with a sanding sealer and let sit overnight.
The next day, you can repeat the sanding with a smaller sandpaper grit and finally choose your finish. Things like lacquers, varnishes and polyurethane give your furniture a nice sheen and offer good protection for your wood and stain.
Stay safe

All those chemicals you’ll be using, as well as the tools, can all be hazardous to your health, so make sure to take precautions. Firstly, always have the right tools for the job, no improvisation. They will make the process easier, but also keep you safe. You will need protective gear like rubber gloves, eyewear and appropriate clothing to prevent any chemicals from reaching your body.
Of course, since chemicals are harmful to human lungs, make sure to ventilate well and even grab a mask to prevent vapour inhalation. Once you’re done with your work, store leftover finishes, paint and other chemicals, as well as oily rags, according to the instructions on the package. This will keep your home safe in case of a fire.
Your first project might not come out as expected, but that’s normal. With practice and a little bit more knowledge on your sleeve, you’ll start to really love this activity that can turn into a life-long hobby and even bring you some money on the side!

