Regular readers of Mummy Matters will be familiar with Lillie’s (and my own) slight obsession with Gel-a-Peel, we have been having so much fun trying out all of the different kits available and see what we can create with them. Well, now the creators of Gel-a-Peel have come up with a new concept called Nail-a-Peel. We were asked if Lillie would like to review this kit so . . . try it we have! For the majority of this year, I have been wearing Jamberry Nail Wraps and Lillie has been in awe of my pretty nails, like most little girls she wants to be ‘just like Mummy’ and has been wanting to have pretty nails too so I figured this could be her chance.
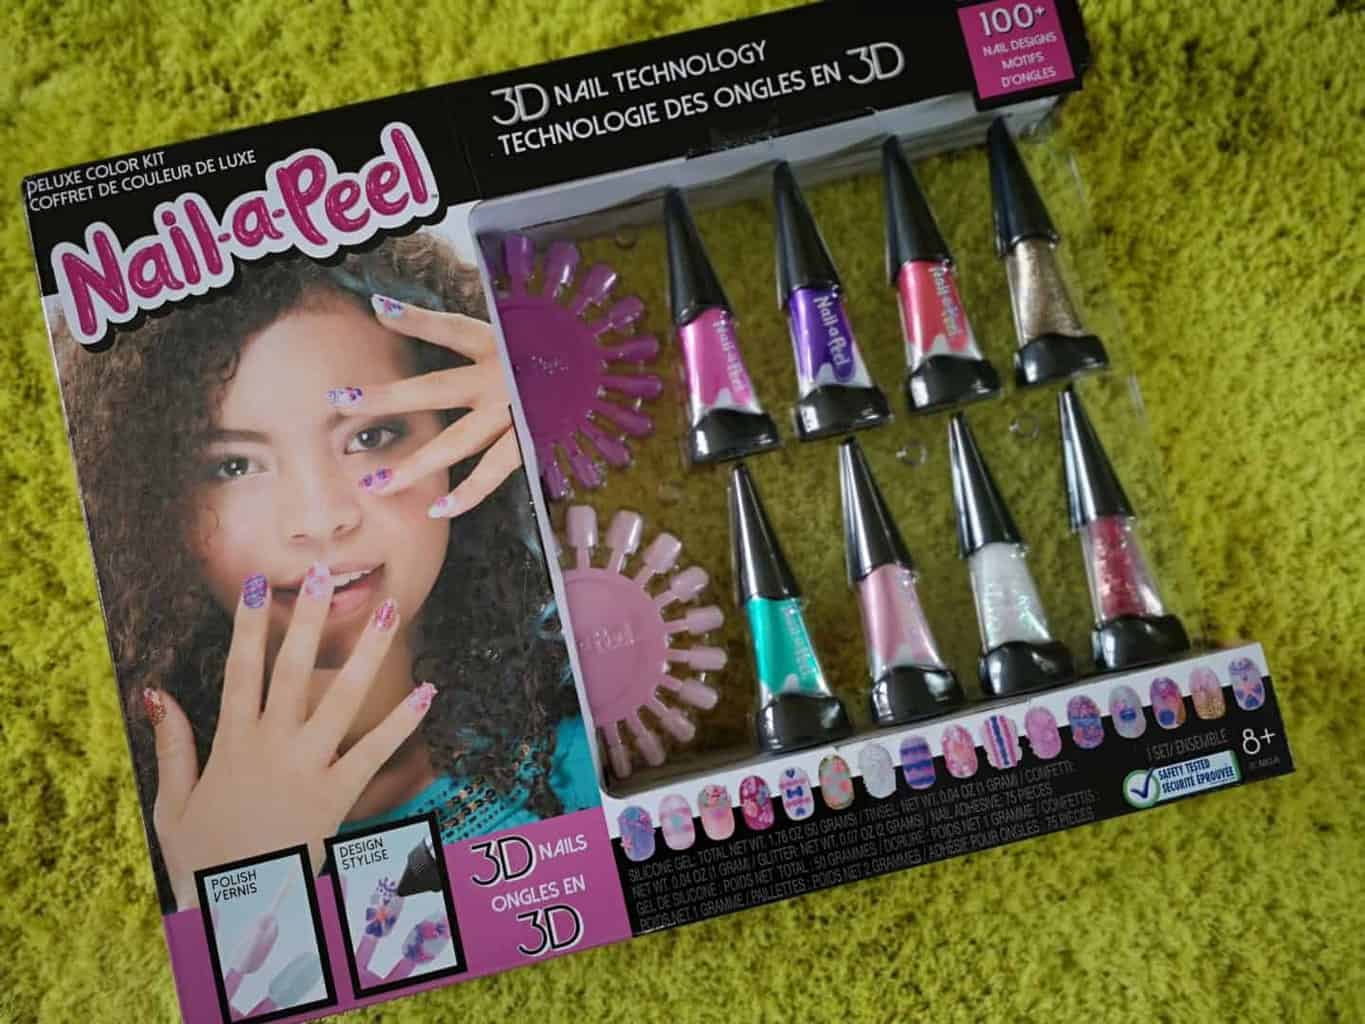
Nail-a-Peel Deluxe Colour Kit
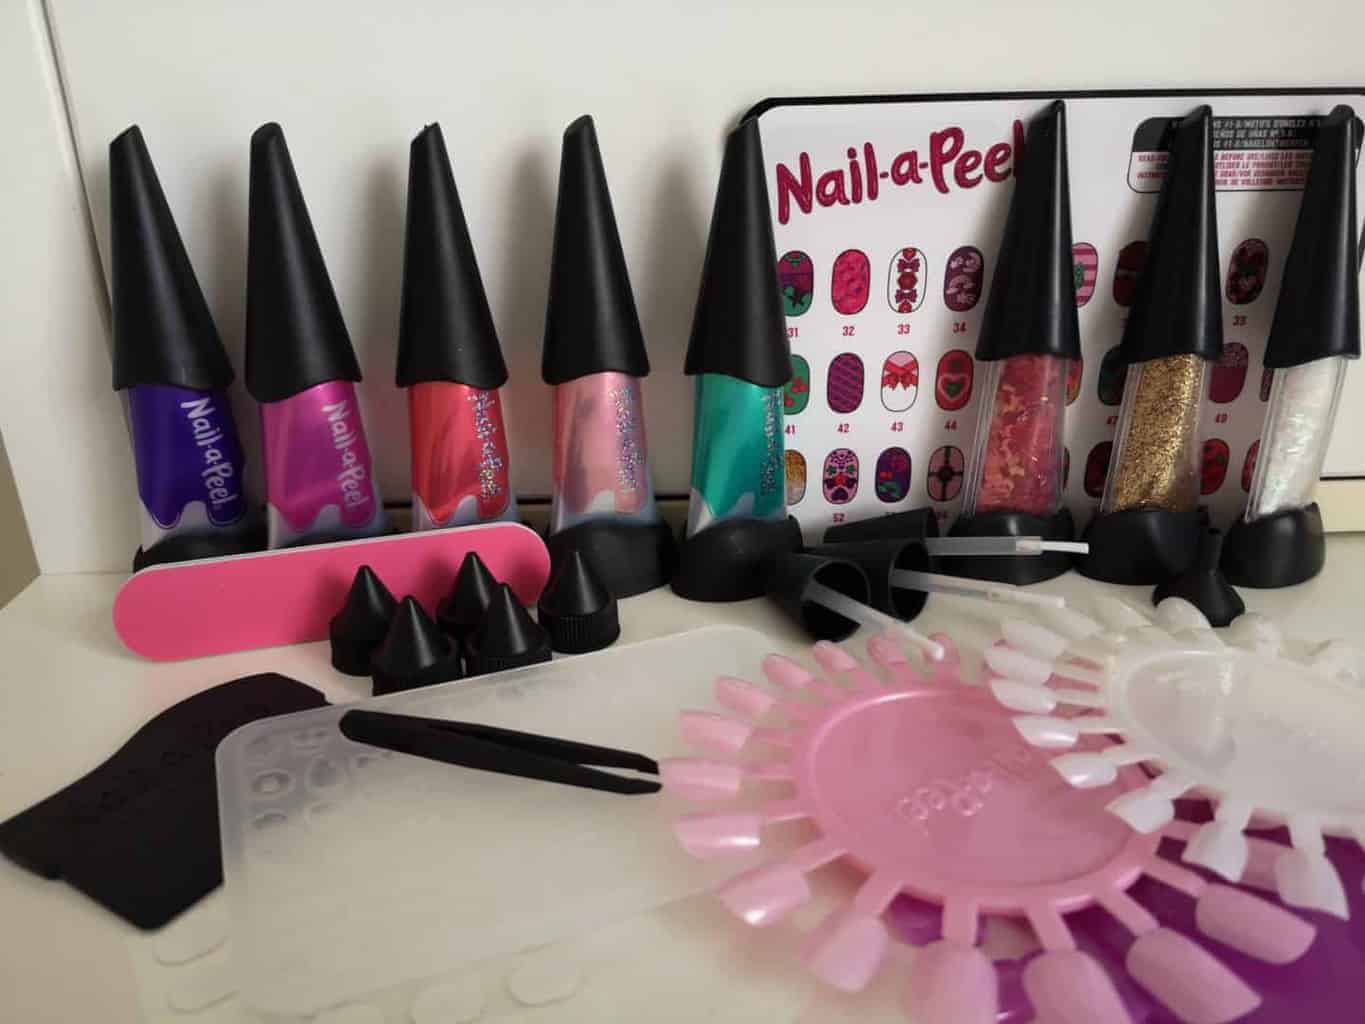
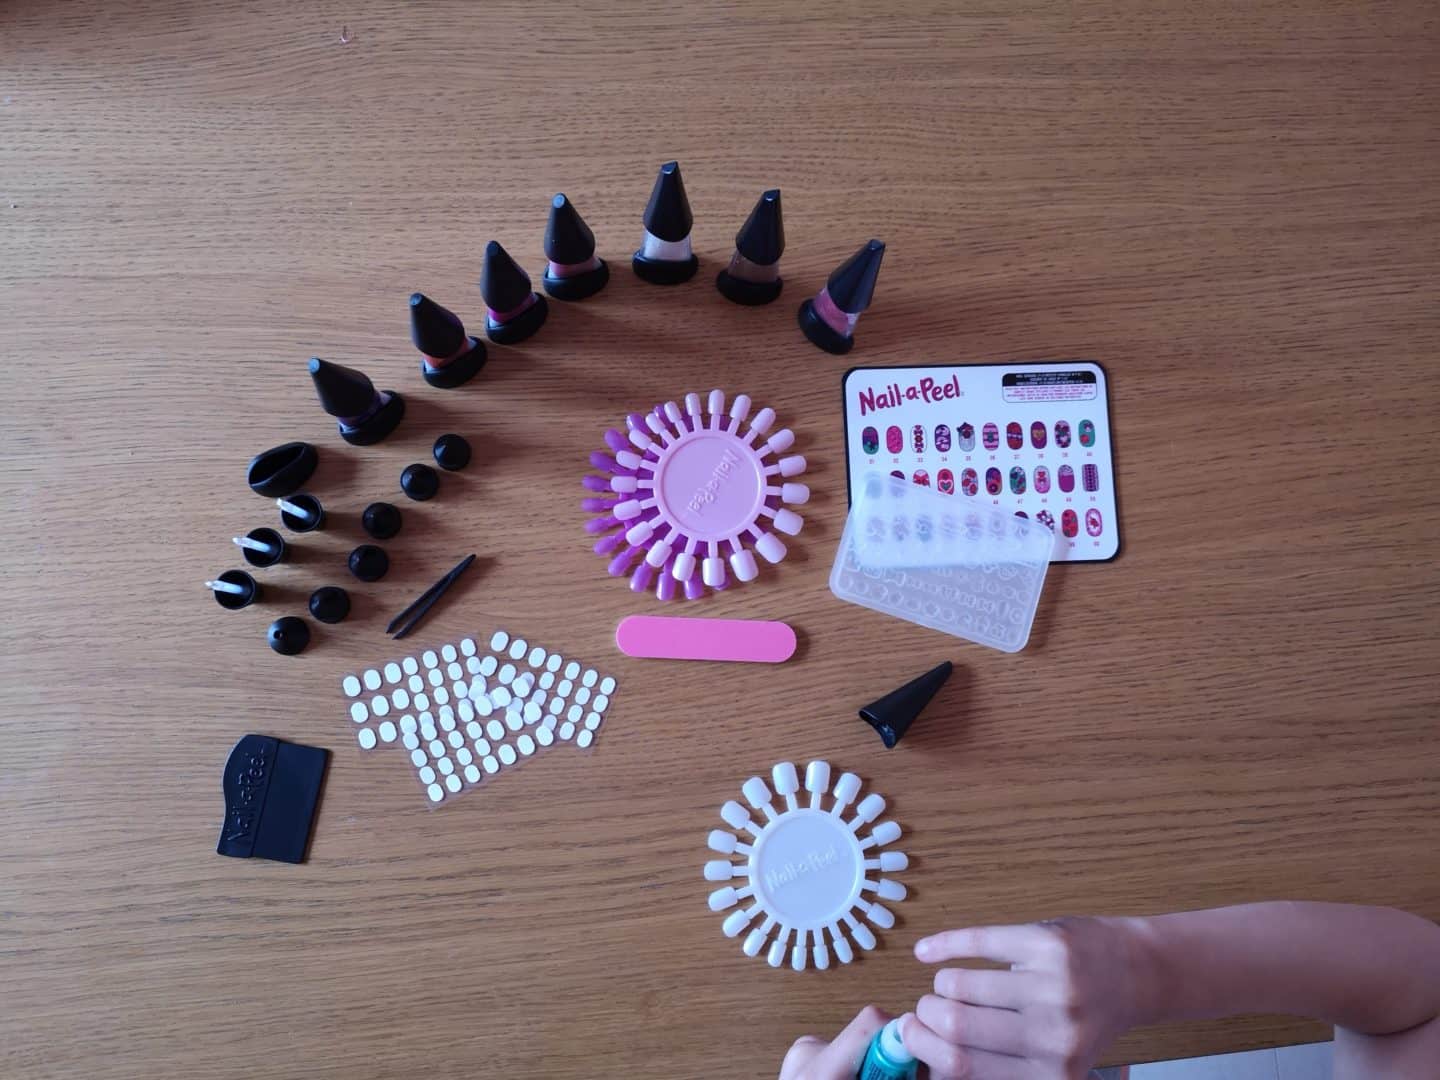
The Nail-a-Peel Deluxe Colour kit comes with everything you need to create 100+ nail designs for you to wear and enjoy, you can be the envy of all your friends with this fun, colourful, craft/manicure kit using new 3D nail technology. Inside the box you will find:
- 5 Gel Polishes
- Nail Tinsel
- Nail Glitter
- Nail Confetti
- 3 Nail Wheels
- 5 Design Tips
- 3 Brush Applicators
- 3D Gel Tray
- Tweezers
- Squeegee
- Funnel
- Emery Board
- 3 Nail Adhesive Sheets
- Design Template
Getting Started
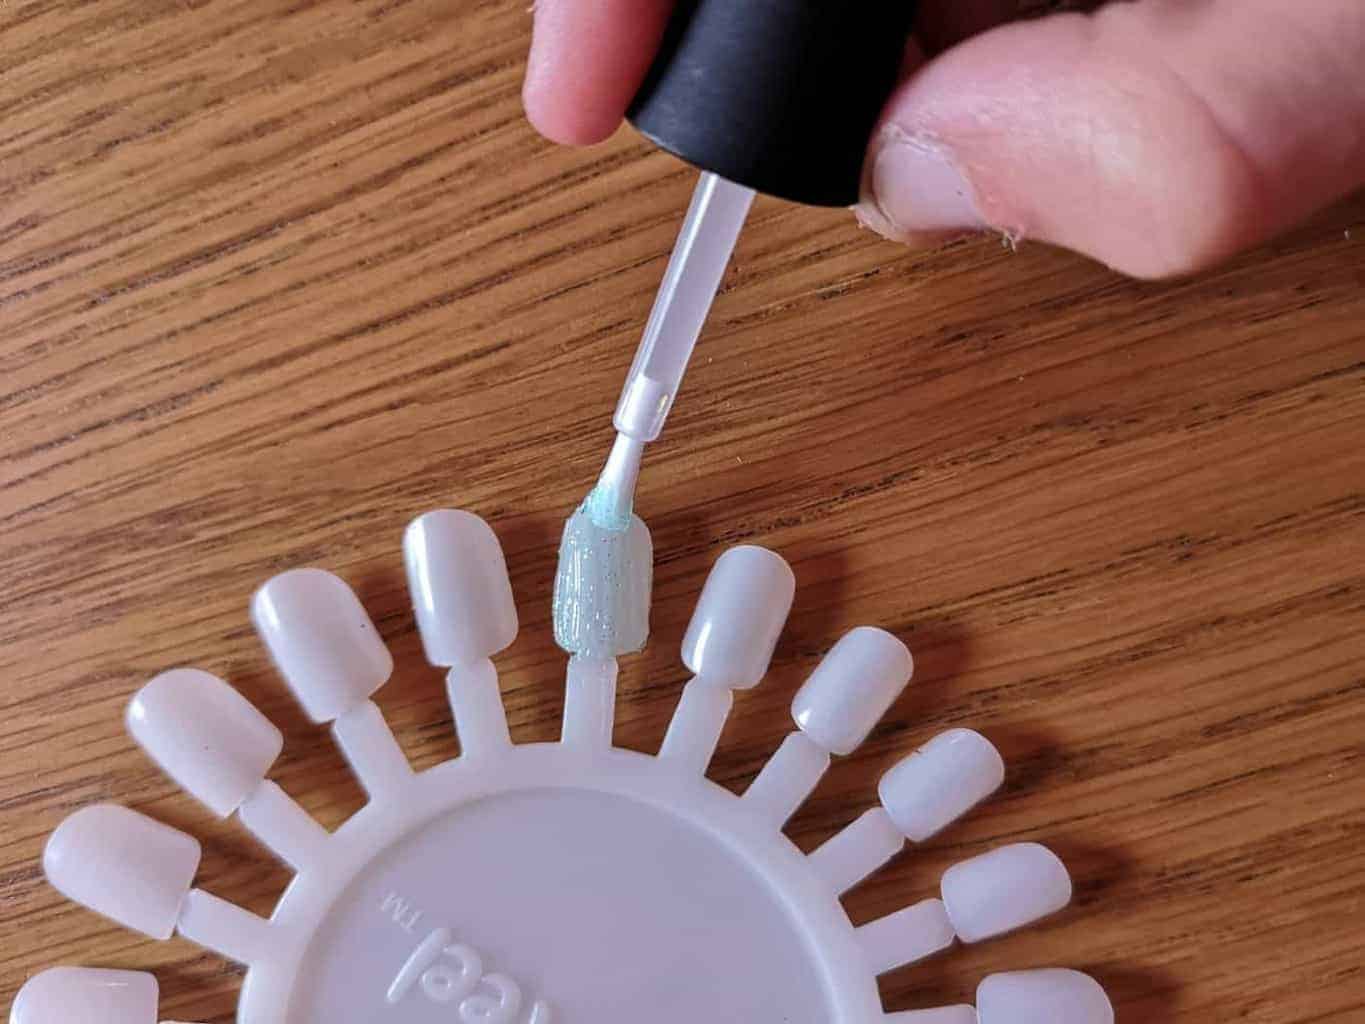
Once you have selected the coloured nail wheel (white, pink or purple) you then need to choose your desired gel colour and squeeze a small amount onto the centre of the wheel. Using an applicator brush, carefully paint each nail with a thin coat of gel and allow to dry thoroughly. Once dry you can add further layers to build up colour and strength if desired.
Design Time
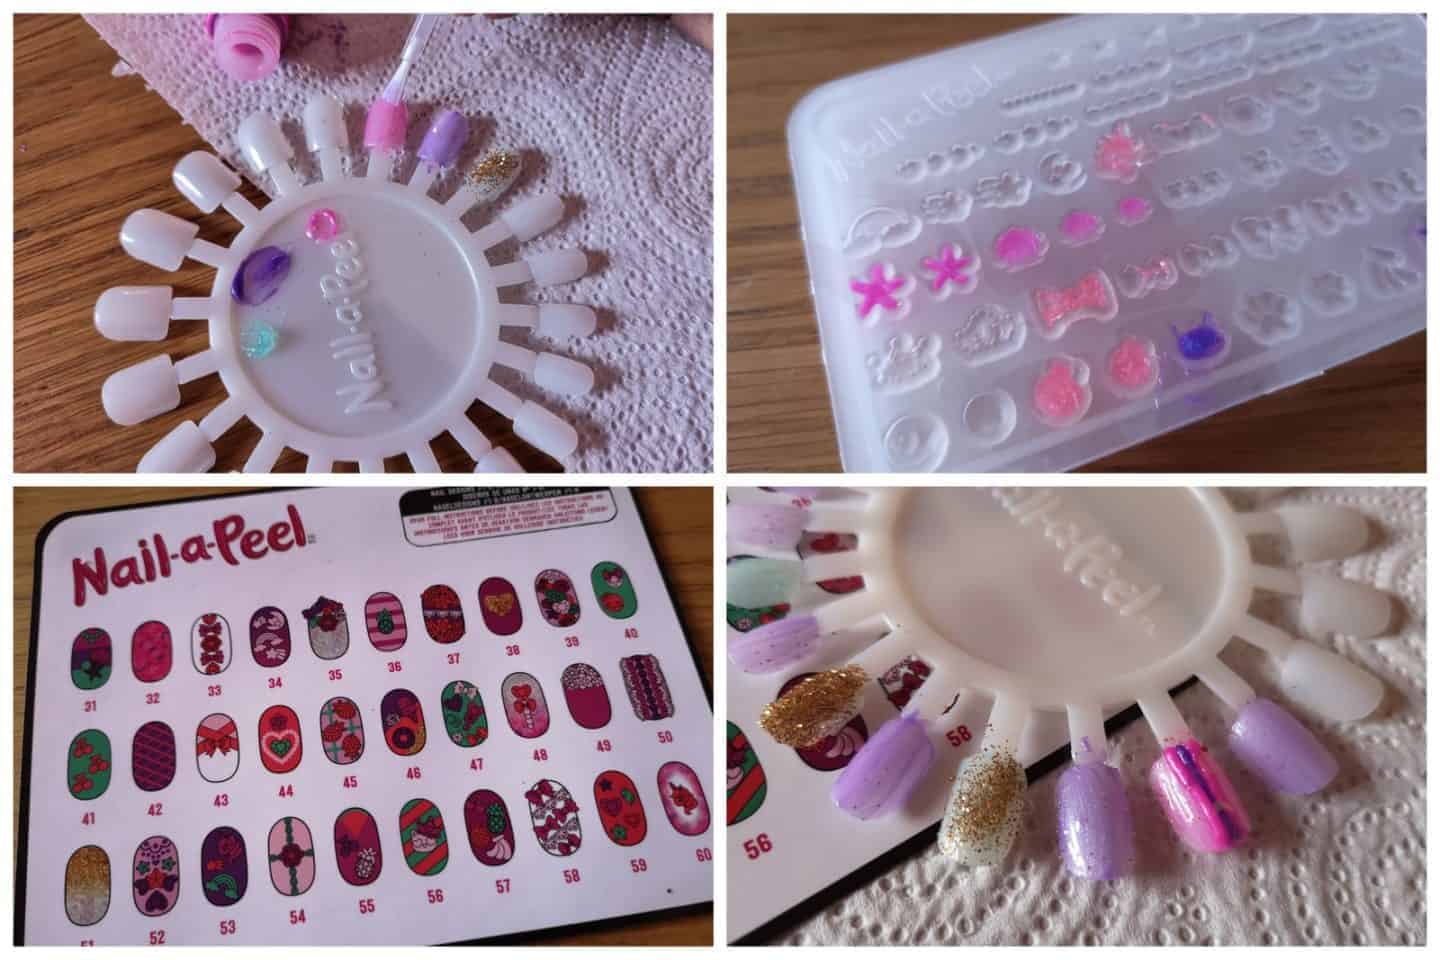
When you are happy with your base coat it’s time to get creative using the design tips for your own freestyle designs OR you can use the 3D Gel Tray much in the same way as you would with Gel-a-Peel to create really cute little designs which can be added to the nails later once they have dried. Also whilst the gel polish is still wet on the nails you can sprinkle on the glitter, confetti or tinsel for a random look or you can use the tweezers in the pack to place them specifically where you need them.
Wearing your nail designs
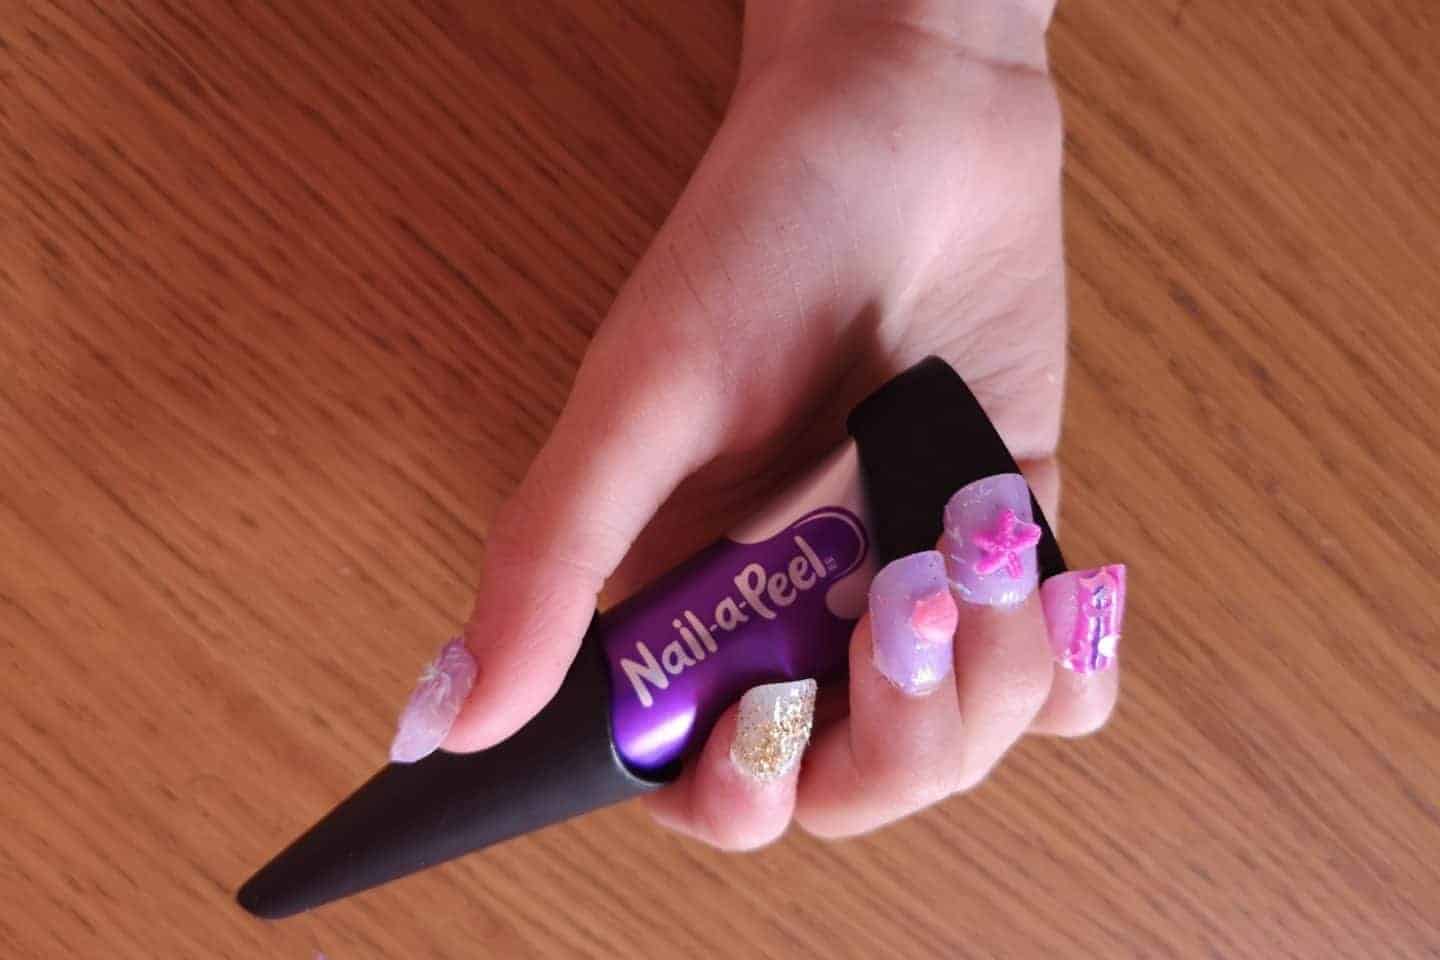
- You’ll need to leave the nails to dry fully, I would suggest leaving them a good 24hours to dry thoroughly otherwise they will get spoilt the second you put them on.
- When you are ready you need to carefully snap the nails from the nail wheel and file the edge where the nail broke off until it is smooth.
- Peel off a nail adhesive and place it onto your nail ensuring full adhesion. Do this on all nails.
- Peel off the top layer of the nail adhesive to reveal the sticky side but do not touch with your fingers as this will make them less sticky.
- Place the nails over the nail adhesive and press firmly into place.
- When you are ‘bored’ with your designs simply peel off the gel designs and your nails are ready for their next design.
Tips
Having used Gel-a-Peel for a long time and now getting our hands on the Nail-a-Peel kit there are a few tips that we would like to share with you;
- Do not rush the process, the gels take longer to dry than you would think so make your designs and then pop them to one side to dry fully for 24 hours.
- When you have finished with a gel colour replace the cap immediately to avoid the gel drying out or becoming ‘blobby’.
- Keep a pack of baby wipes handy to clean the brush applicators and squeegee regularly to prevent clumping.
- Cleaning is really easy if you leave the excess gel to dry in the tips and on the tray, then it’s just a case of peeling the gel away and discarding.
- Unused tinsel, glitter and confetti can be funnelled back into their containers using a folded piece of paper and the funnel supplied.
What we thought?
This is a really fun crafting activity for the older girl/tween. The kit is aimed at girls of age 8+which I think is pretty well targeted. Whilst Lillie really enjoyed doing the actual craft, she has struggled with the nails as she has really tiny fingernails so they don’t stay on for her, perhaps this will encourage her to stop biting her nails??? I do know that a lot of her friends have beautiful nails which would be ideal for these kinds of false nails.
We think it’s good that the nails can be peeled and reused as I had visions of them only being able to have done the design on and then thrown away so it makes them better value for money too.
Available from all major toy stores and online – RRP £29.99 currently on special offer at Amazon for £20.99
