Create a fun focal point for your patio with this ingenious up-cycling tutorial
We moved into our new build house nearly 5 years ago but the one part of it we have never given much thought to, or time, was our garden. This year we decided to finally put our stamp on it and make it into a place we wanted to spend time in.?
We have recently extended our patio and wanted to add a comfortable seating area to relax in where we could watch the children playing in the garden, but we also wanted a focal point. We wanted our patio to feel like an extension of our home, an ‘outdoor room’. Therefore, we decided to make a DIY bar out of pallets, here I will show you how to make one too!
 To make the DIY Garden Bar you will need
- 2 x wooden pallets
- External wood paint in two colours plus paint brushes
- Pencil (to mark screw positions)
- Drill with 5mm masonry bit
- 6 x Heavy Duty Flat Strap fixings (screws included in pack)
- 5mm Masonry Screws and Rawlplugs
- Screwdriver
- 2 x Round Top Edging (garden slab)
- No More Nails glue (Waterproof)
Tip
 Step 1
Paint the pallets using outdoor stain or paint in colour of choice. We painted the pallets stone-grey to match our garden fences. The pallets are raw wood and absorbent, therefore they will most likely need two coats. Make sure to cover all faces and edges to ensure they are weather-proof.
Step 2
If you’re attaching to a brick wall, you will need to determine the position of the mortar first as it is difficult to drill into brick. Position the pallets against the wall, and using a pencil, mark the position of the mortar on to the top of the pallet. You can then align your flat straps accordingly.
Tip

Step 3
Turn the pallet over and using the screws provided with the flat straps, attach them to the back of the palette (in line with the marks you have just made). Ensure you have at least 2 screw holes protruding at the top to attach the palette to the wall.
Step 4
Position the pallet back to the wall with the flat straps lined up to the mortar (if on a brick wall). Using a pencil mark the position of the holes onto the mortar and then drill holes. Insert rawlplugs into the hole and then screw pallet into place.
 Step 5
To make the bar top we used Round Top Edging from Homebase, which conveniently was exactly the same width as our pallets. This was fixed to the top of the bar using Waterproof No More Nails for a secure setting.

And Enjoy!
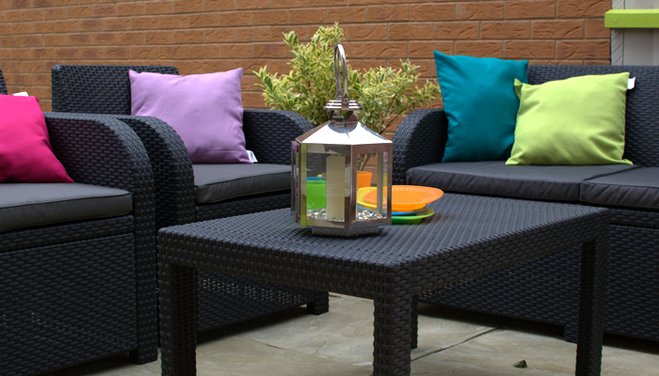
We are so happy with the end results, it adds colour to our patio area and is the perfect place to stand our home-made decopatch tealight holders where we place citronella candles to keep us bug-free. For the final touch, we completed our outdoor bar area with a rattan seating set adding colour with cushions in bright colours to match our solar lights.

