It is no secret on the blog that Lillie and I are fans of Gel-a-Peel, I especially love my Gel-a-Peel diary. We have decorated quite a few things around the house with it since we were first introduced to it a few months ago. Add to that slime play and you’ve got yourself the perfect school holiday entertainment for Lillie . . . decorating slime jars!!
Slime jar supplies
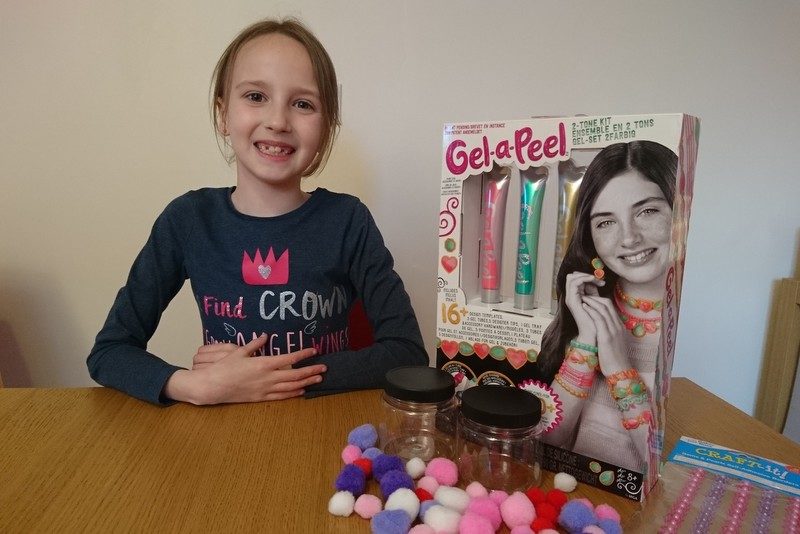
Lillie received the Gel-a-Peel 2-Tone kit as well as a bundle of crafting supplies to be able to get creative with her slime jars. We would attempt to make our own slime another day, this activity was purely about the Slime Jar design.
Gel-a-Peel 2-Tone Kit
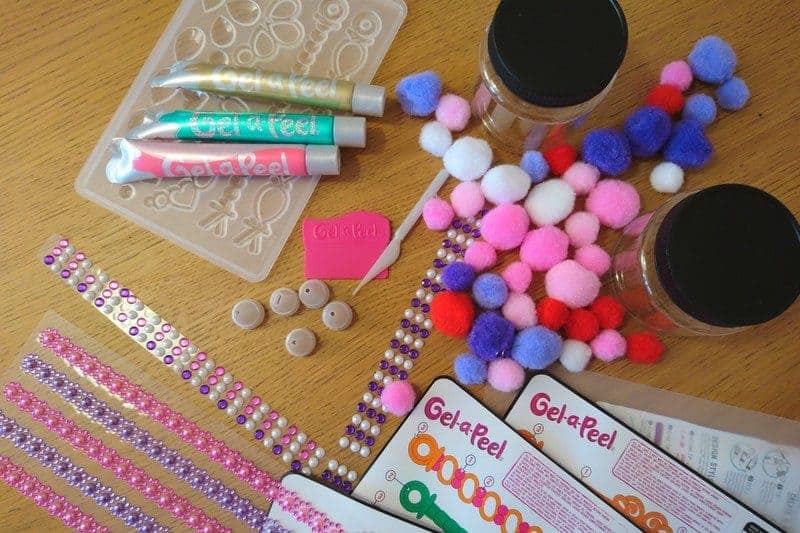
The Gel-a-Peel 2-Tone kit contains three tubes of Gel-a-Peel in Pink, Green and Gold. Each one had a pearlescent side and a bright side which squeeze out together to give a pretty finish to the designs. Also included within the kit are; design tray, templates, design sheet, nozzles, scraper, Gel-a-Peel tool and jewellery findings.
Getting started
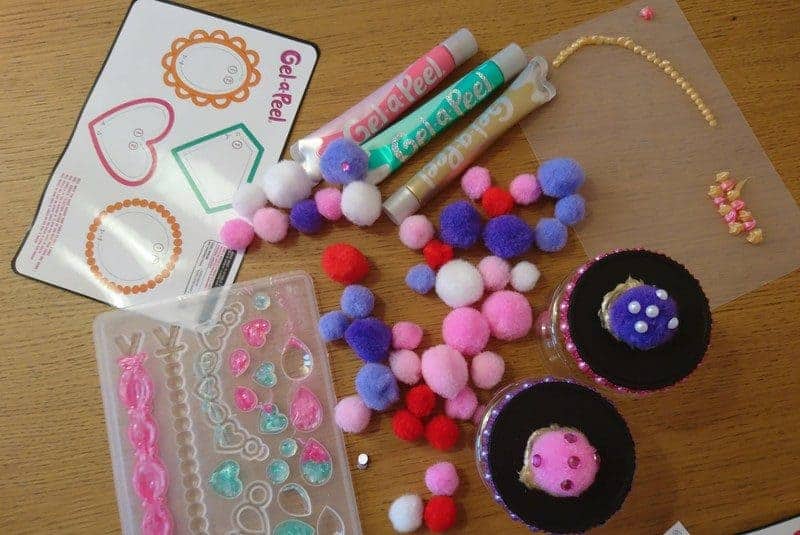
Lillie decided to make a start by creating her Gel-a-Peel designs using the design tray and template sheets, followed by a few freehand designs. That way she could continue with other design aspects of her slime jars whilst the Gel-a-Peel was left to dry.
Using the design tray and templates
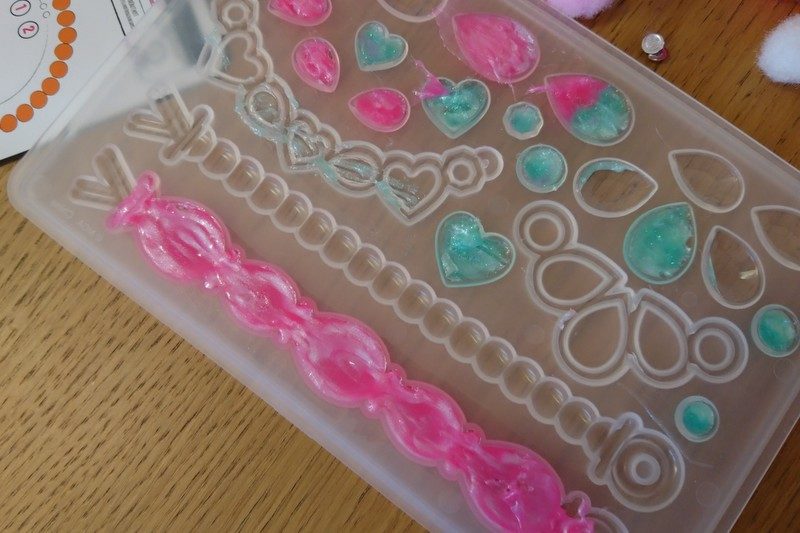
When using the design tray Lillie used the standard nozzle and filled the tray with Gel and then used the pointy tool to push the agitate the Gel which will disperse any air bubbles underneath, next using the scraper you slide it along the top of the Gel to leave them with a smooth and clean finish ready for sticking onto the slime jar later. You can create different styles and finishes by mixing the gels. To use the design templates you simply place them underneath the clear plastic sheet and copy the designs which show through. Once dry simply peel off your designs and decorate accordingly.
We do find that the Gel can take a while to dry so we generally leave them to dry fully overnight so as not to spoil the design pieces.
Bringing it all together
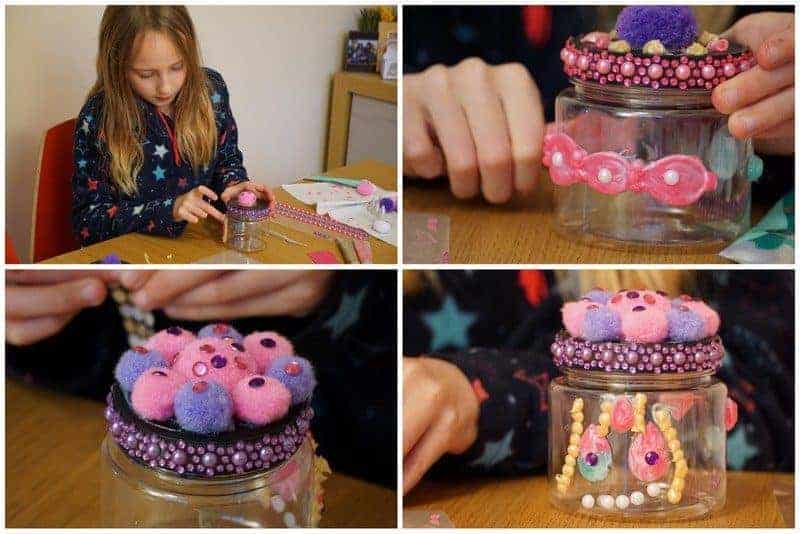
Finally Lillie set to work on decorating her slime jars with the Gel-a-Peel creations by using more Gel-a-Peel as a glue to stick them to the jars. She also used Gel-a-Peel to stick her coloured pompoms to the lids. Some of the Gel-a-Peel kits contain alphabet design trays which would be great for creating labels for jars such as these or decorating school folders and the like. There really is no end to the things that you can do with Gel-a-Peel and we have found some great ideas on Pinterest. Lillie quite fancies trying making some of the cool pencil toppers next time.
The finished product
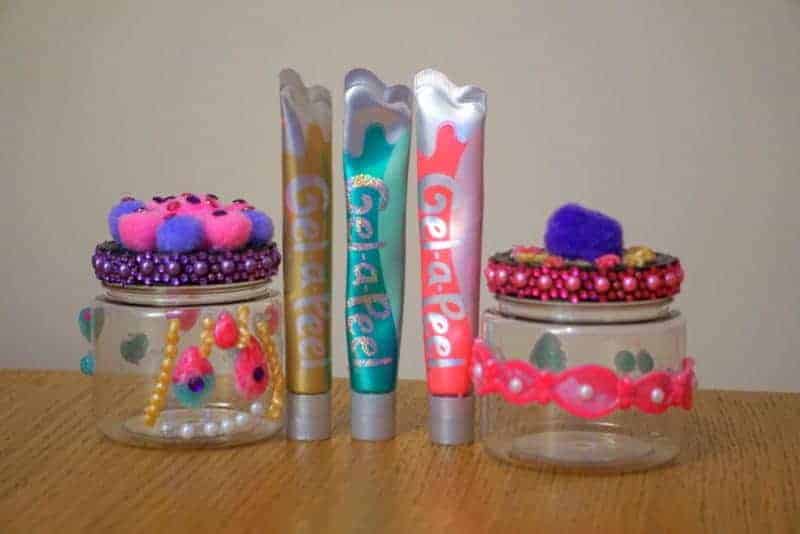
Lillie is very happy with her finished Slime Jars – I wish the same could be said for our efforts at making slime which didn’t quite go to plan so if you happen to know of any fool-proof recipes that don’t include Borax then I would love to hear them in the comments below please.
What are your favourite Gel-a-Peel projects?
